Has anyone actually REPLACED the fan?
I followed @ScottW514 's guide on how to remove the fan for cleaning (thank you so much Scott!). However, after cleaning the fan, I reconnected it and tried a simple score to test that things were working correctly.
They weren’t. My fan no longer operates.
So, I followed Scott’s link on the fan specs, and ordered another one. It arrived today. It does not come with a connector block.
I don’t deal with much hardware, so my knowledge here is very limited. But it seemed to me that it should be possible to remove the old fan’s wires from the block and move it to the new fan’s wires. I wanted to go slowly, wire by wire, so that I could connect the new fan’s wires in the correct order.
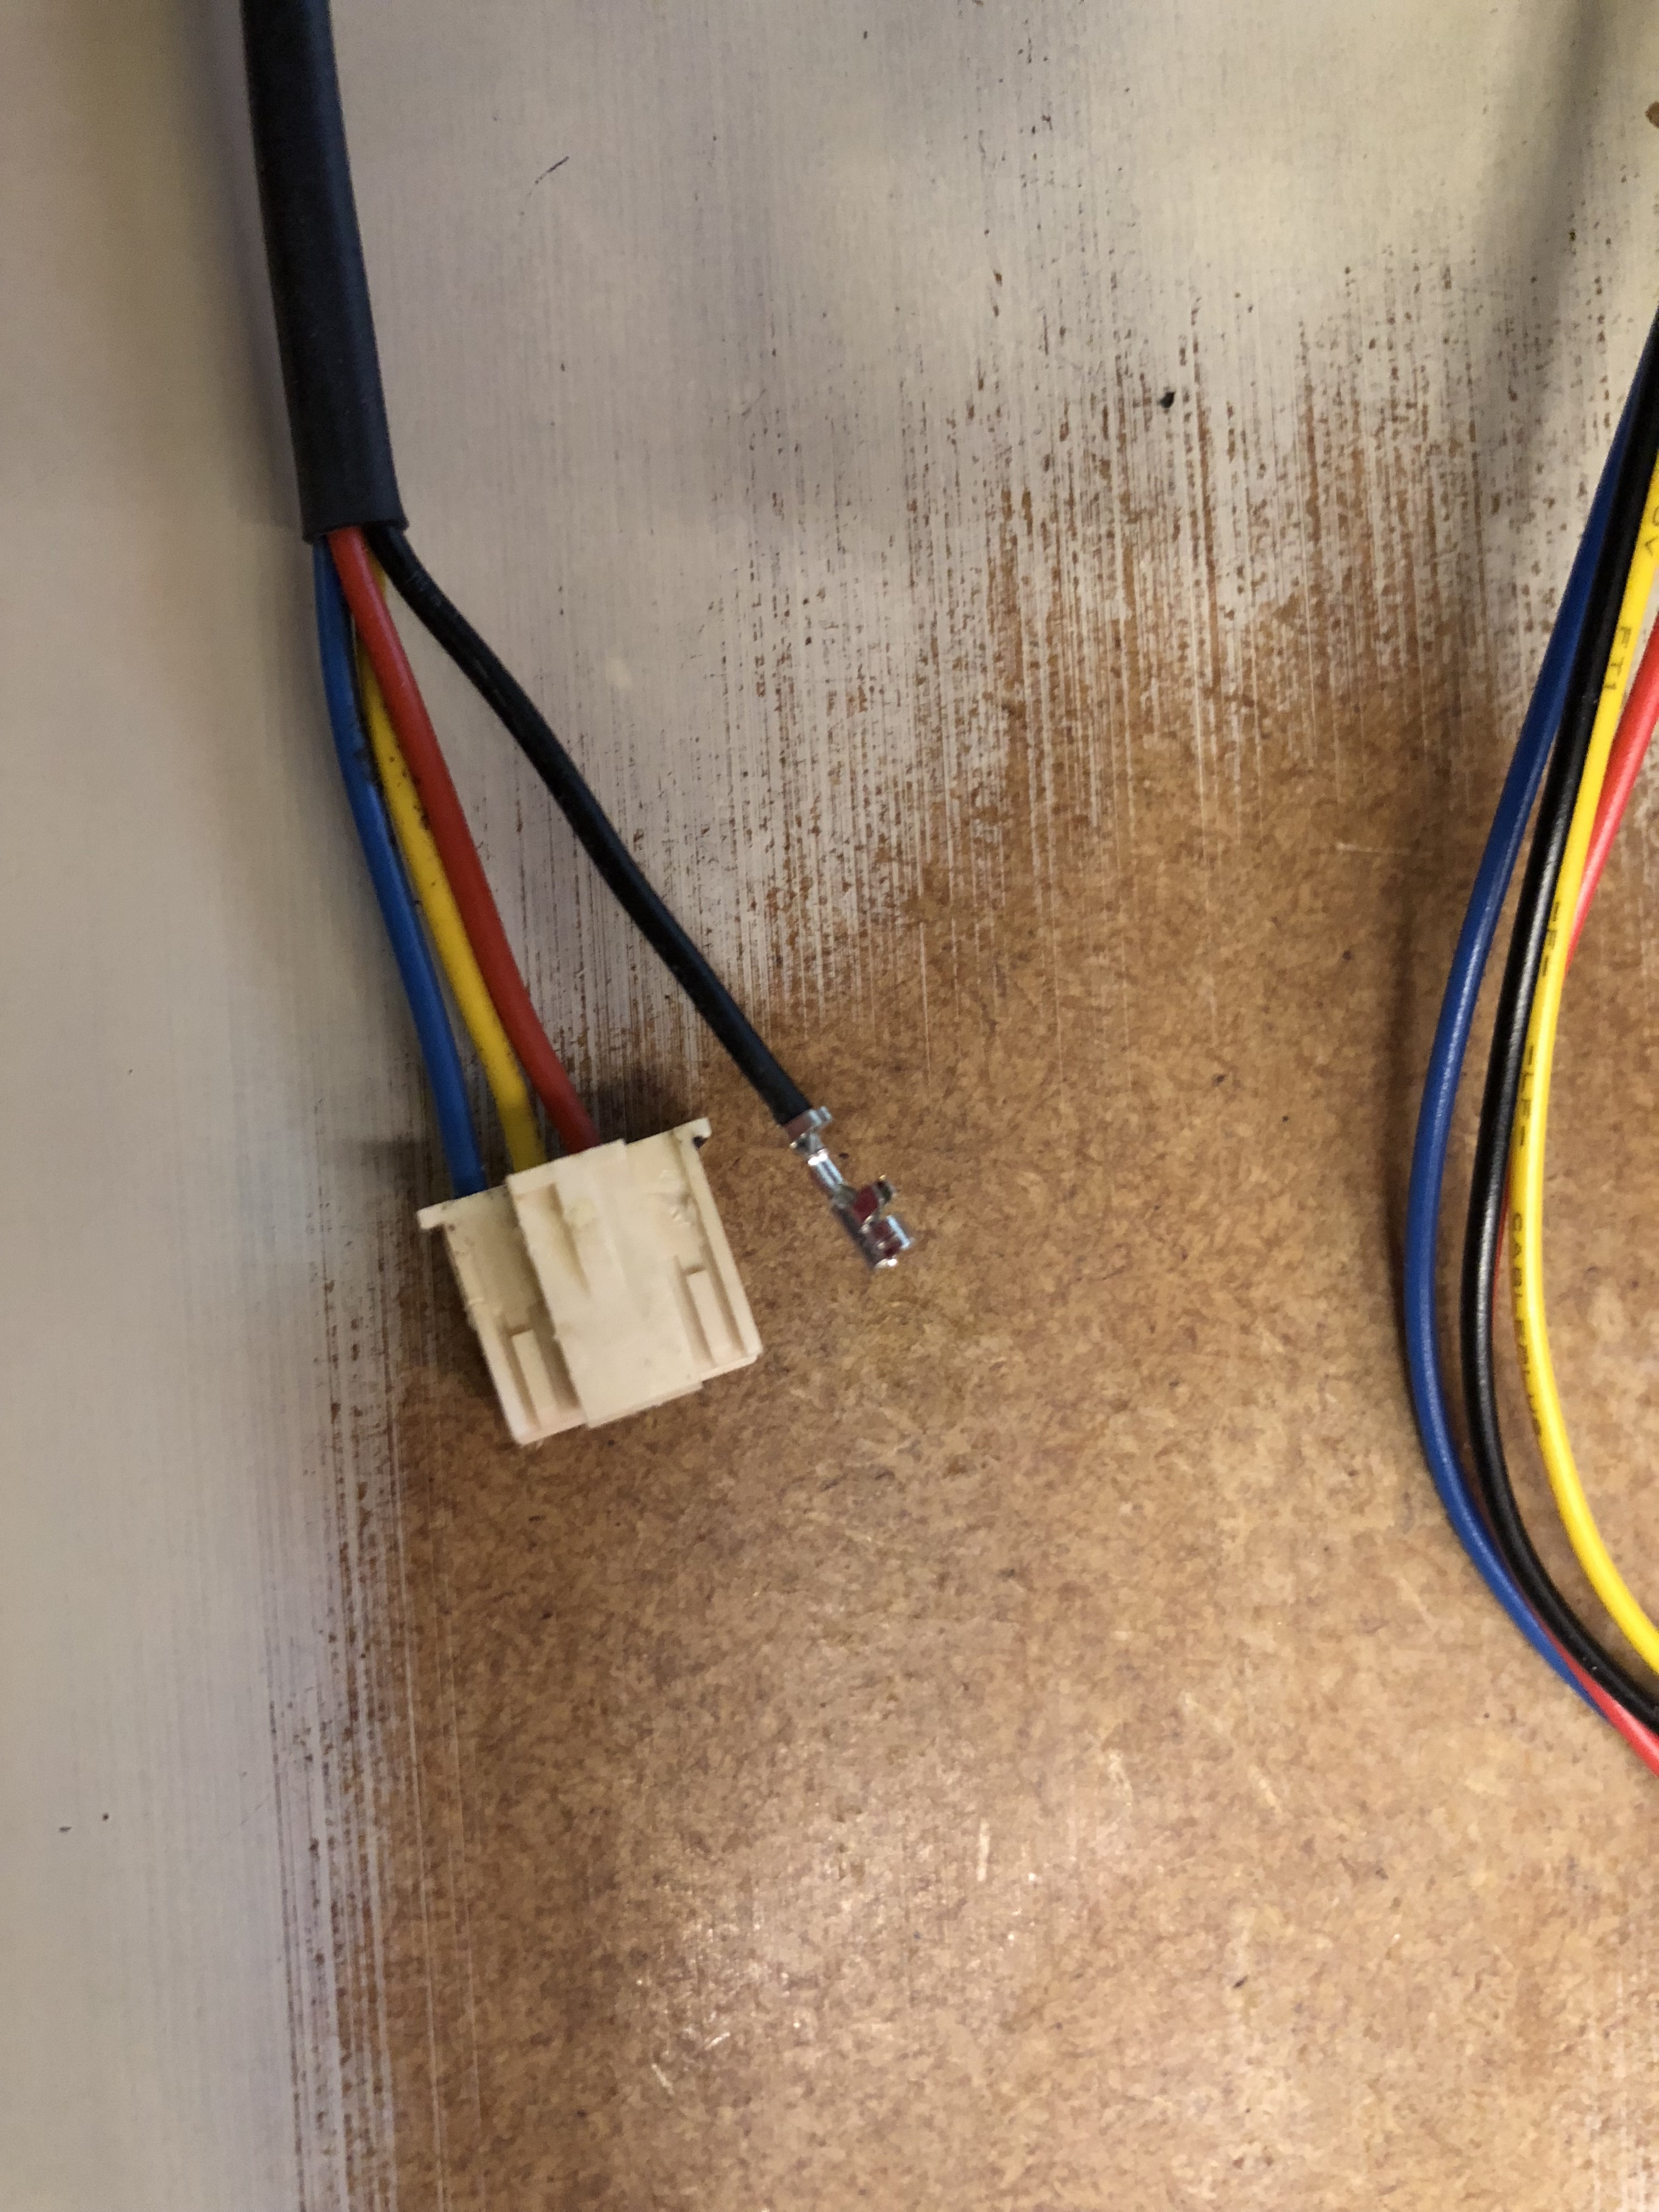
I figured out how to disconnect a wire, and that’s when I ran into a problem I don’t know how to deal with.
The individual wires have a crimp that inserts into the connector block. It looks like when the connector block in plugged into the board, the pins on the board insert into the ends of the crimps. I’ve worked with crimps in terms of jewelry before, so I’d be good with placing them on the new fan wires and reinserting them into the connector block. Except I have no idea what to call the crimps in order to find some more.
Can anyone point me in the right direction?
It’s a TE Connectivity Economy Power 2.5 Connector (the Glowforge uses a number of connectors in this series).
There is a special crimp tool that makes a nice solid connection. Worth it if you do a lot of this sort of thing (which most people probably don’t). This is the one I have. Otherwise, you usually can do a decent crimp with a pair needle nose pliers.
You could also cut the wire off, leaving about a 1/4" from the connector. Strip it, and solder the new wire to it (this video gives a decent overview of joining wires). I’d recommend protecting the exposed joint with some heat shrink tubing.
2 Likes
Thanks so much Scott! I’ll let you know how it went as soon as we get it connected and tested!
@ScottW514
I, my wire stripper, and heat gun have finally prevailed! It works like a champ now. Thank you so much for your guide, and for your advice.
While I had the GF open and accessible, I went ahead and cut out the finger guard grill (strong suggestions about making that at least removable from the back side are going to GF’s Suggestion section!), and removed the Pro cooling connections on the bottom right in front of the bottom fan screws. Now it should be much easier to clean, and remove if necessary.
You were a life saver. Thanks again.
3 Likes
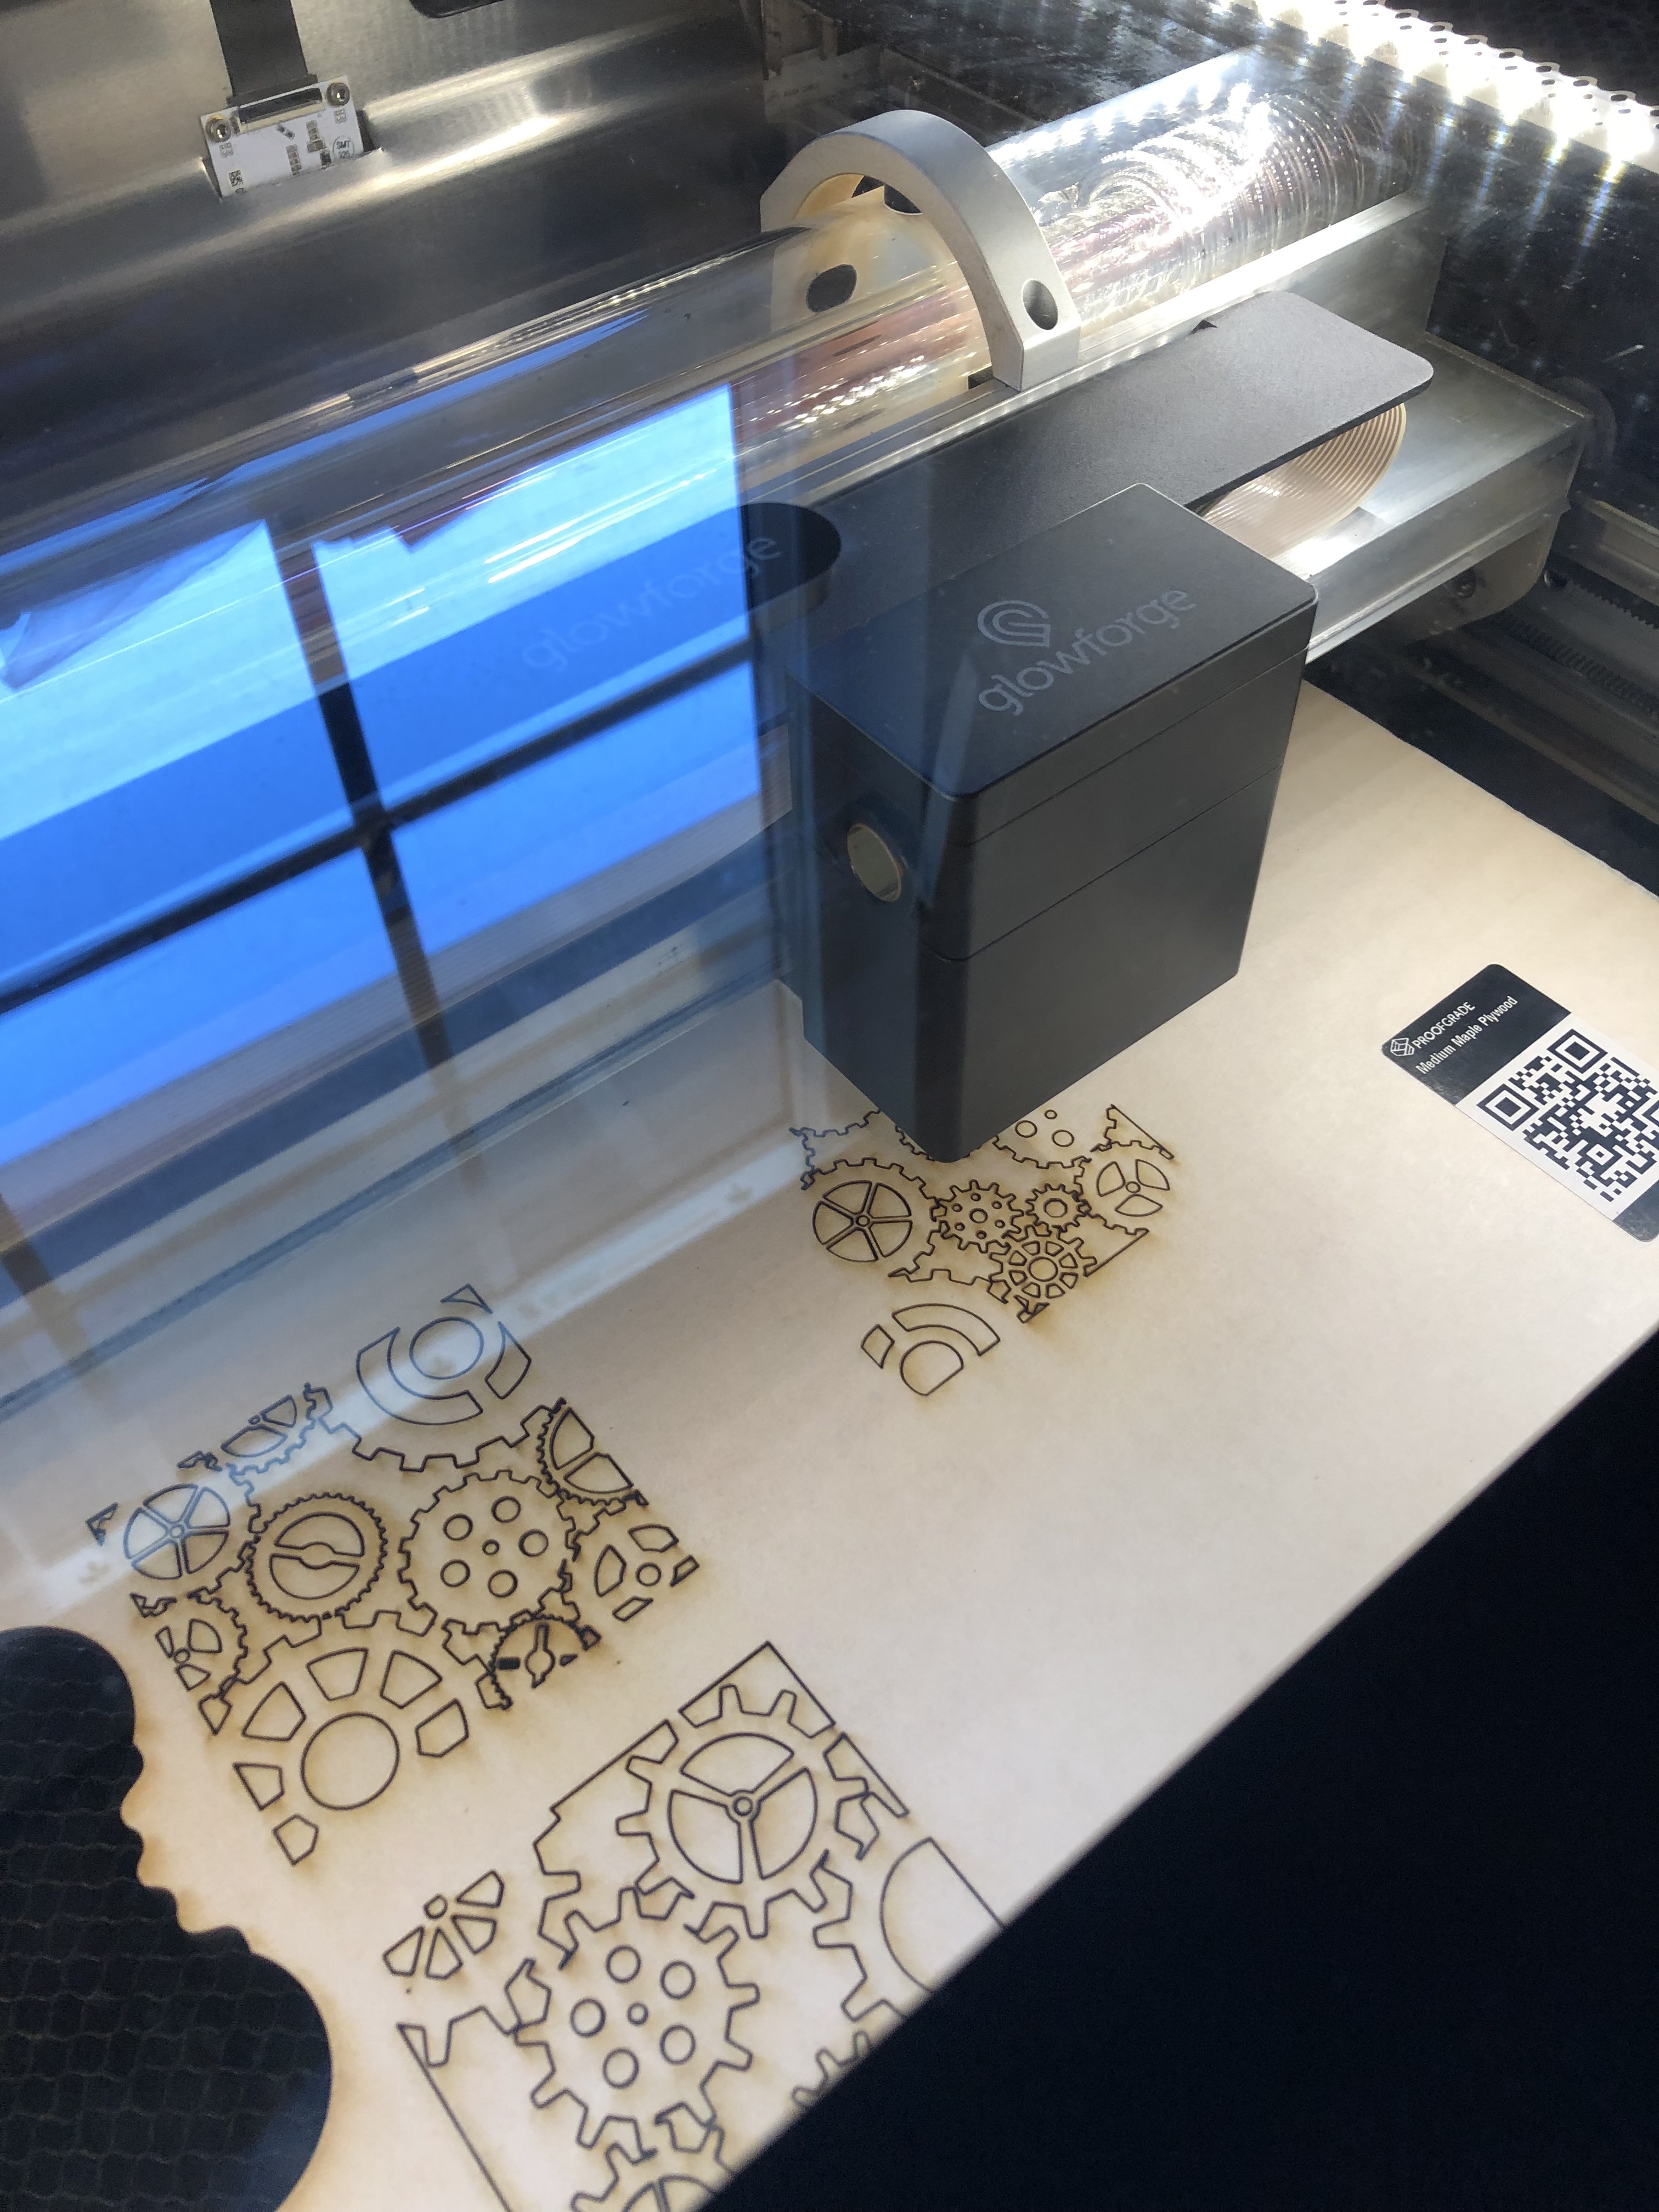
Finally got pics of MC Etcher in action again! Unfortunately I didn’t get a pic of the fan itself, but it’s working great now.
3 Likes