To enable easy use/development of 3rd party firmware for your Glowforge, you can install the SD card slot. This will allow you to burn firmware to a removable micro-SD card, and let you experiment with little chance of (reversibly) bricking your GF.
You’ll need all the same stuff you need to install the serial port, plus the holder:
- Hirose DM3AT-SF-PEJM5 (Mouser P/N: 798-DM3AT-SF-PEJM5)
Installation:
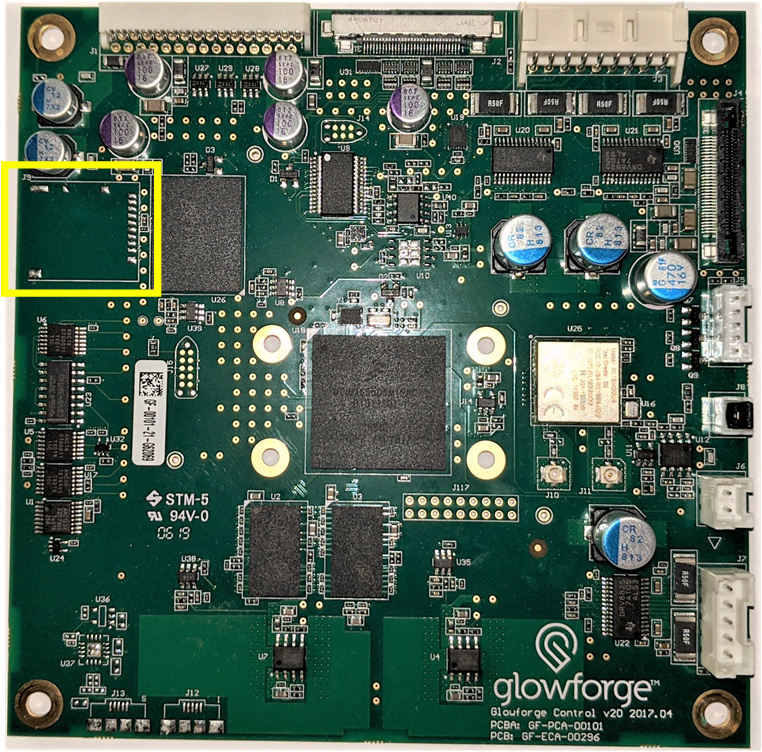
The SD Card mounts in the area in the yellow square:
I find that soldering one corner first helps to get it aligned. If it isn’t quite right, you only have one corner to heat up so you can adjust the location. Once you get it lined up perfectly, then solder the opposite corner.
When you solder in the pins, use a USB microscope to make sure you don’t have any solder bridges:
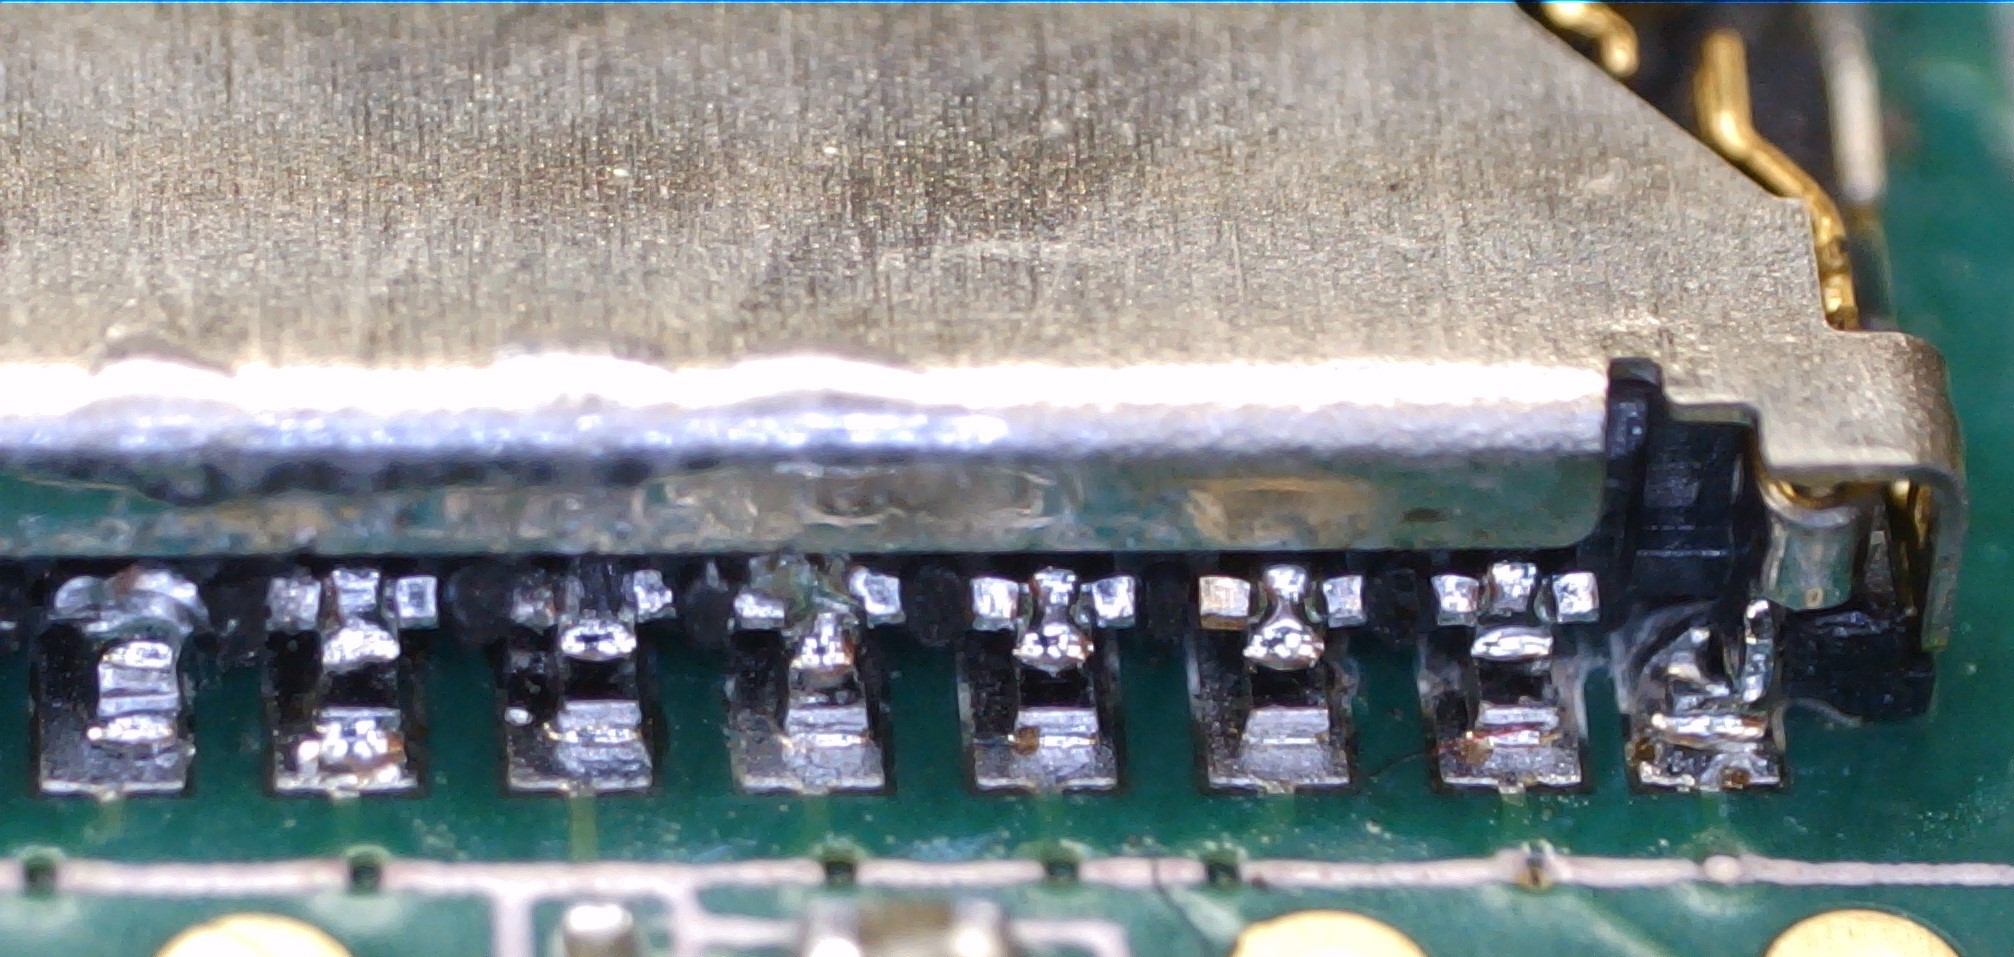
Also, make sure you soldered all the mounting lugs (there are 5 of them).
To boot from the SD card with your desired firmware image (don’t have one? don’t worry, I’m working on that!), you need to configure the boot loader.
From the GF command line (yes, you need console access):
root@gf-abc-123:~# fw_setenv -c /etc/fw_env_mmcblk2.config mmcdev 0
root@gf-abc-123:~# fw_setenv -c /etc/fw_env_mmcblk2.config mmcpart 1
root@gf-abc-123:~# fw_setenv -c /etc/fw_env_mmcblk2.config mmcroot /dev/mmcblk1p1
Reboot, and you’re good to go.
To revert back to booting from the internal flash:
root@gf-abc-123:~# fw_setenv -c /etc/fw_env_mmcblk2.config mmcdev 1
root@gf-abc-123:~# fw_setenv -c /etc/fw_env_mmcblk2.config mmcpart 2
root@gf-abc-123:~# fw_setenv -c /etc/fw_env_mmcblk2.config mmcroot /dev/mmcblk2p2