As the exhaust fan is in the direct path of particulate matter generated by laser ablation, it is only a matter of time before it gets booger-ed up and needs cleaning or replacement. This is not an easy task on the Glowforge, but it can be accomplished.
Tools Needed:
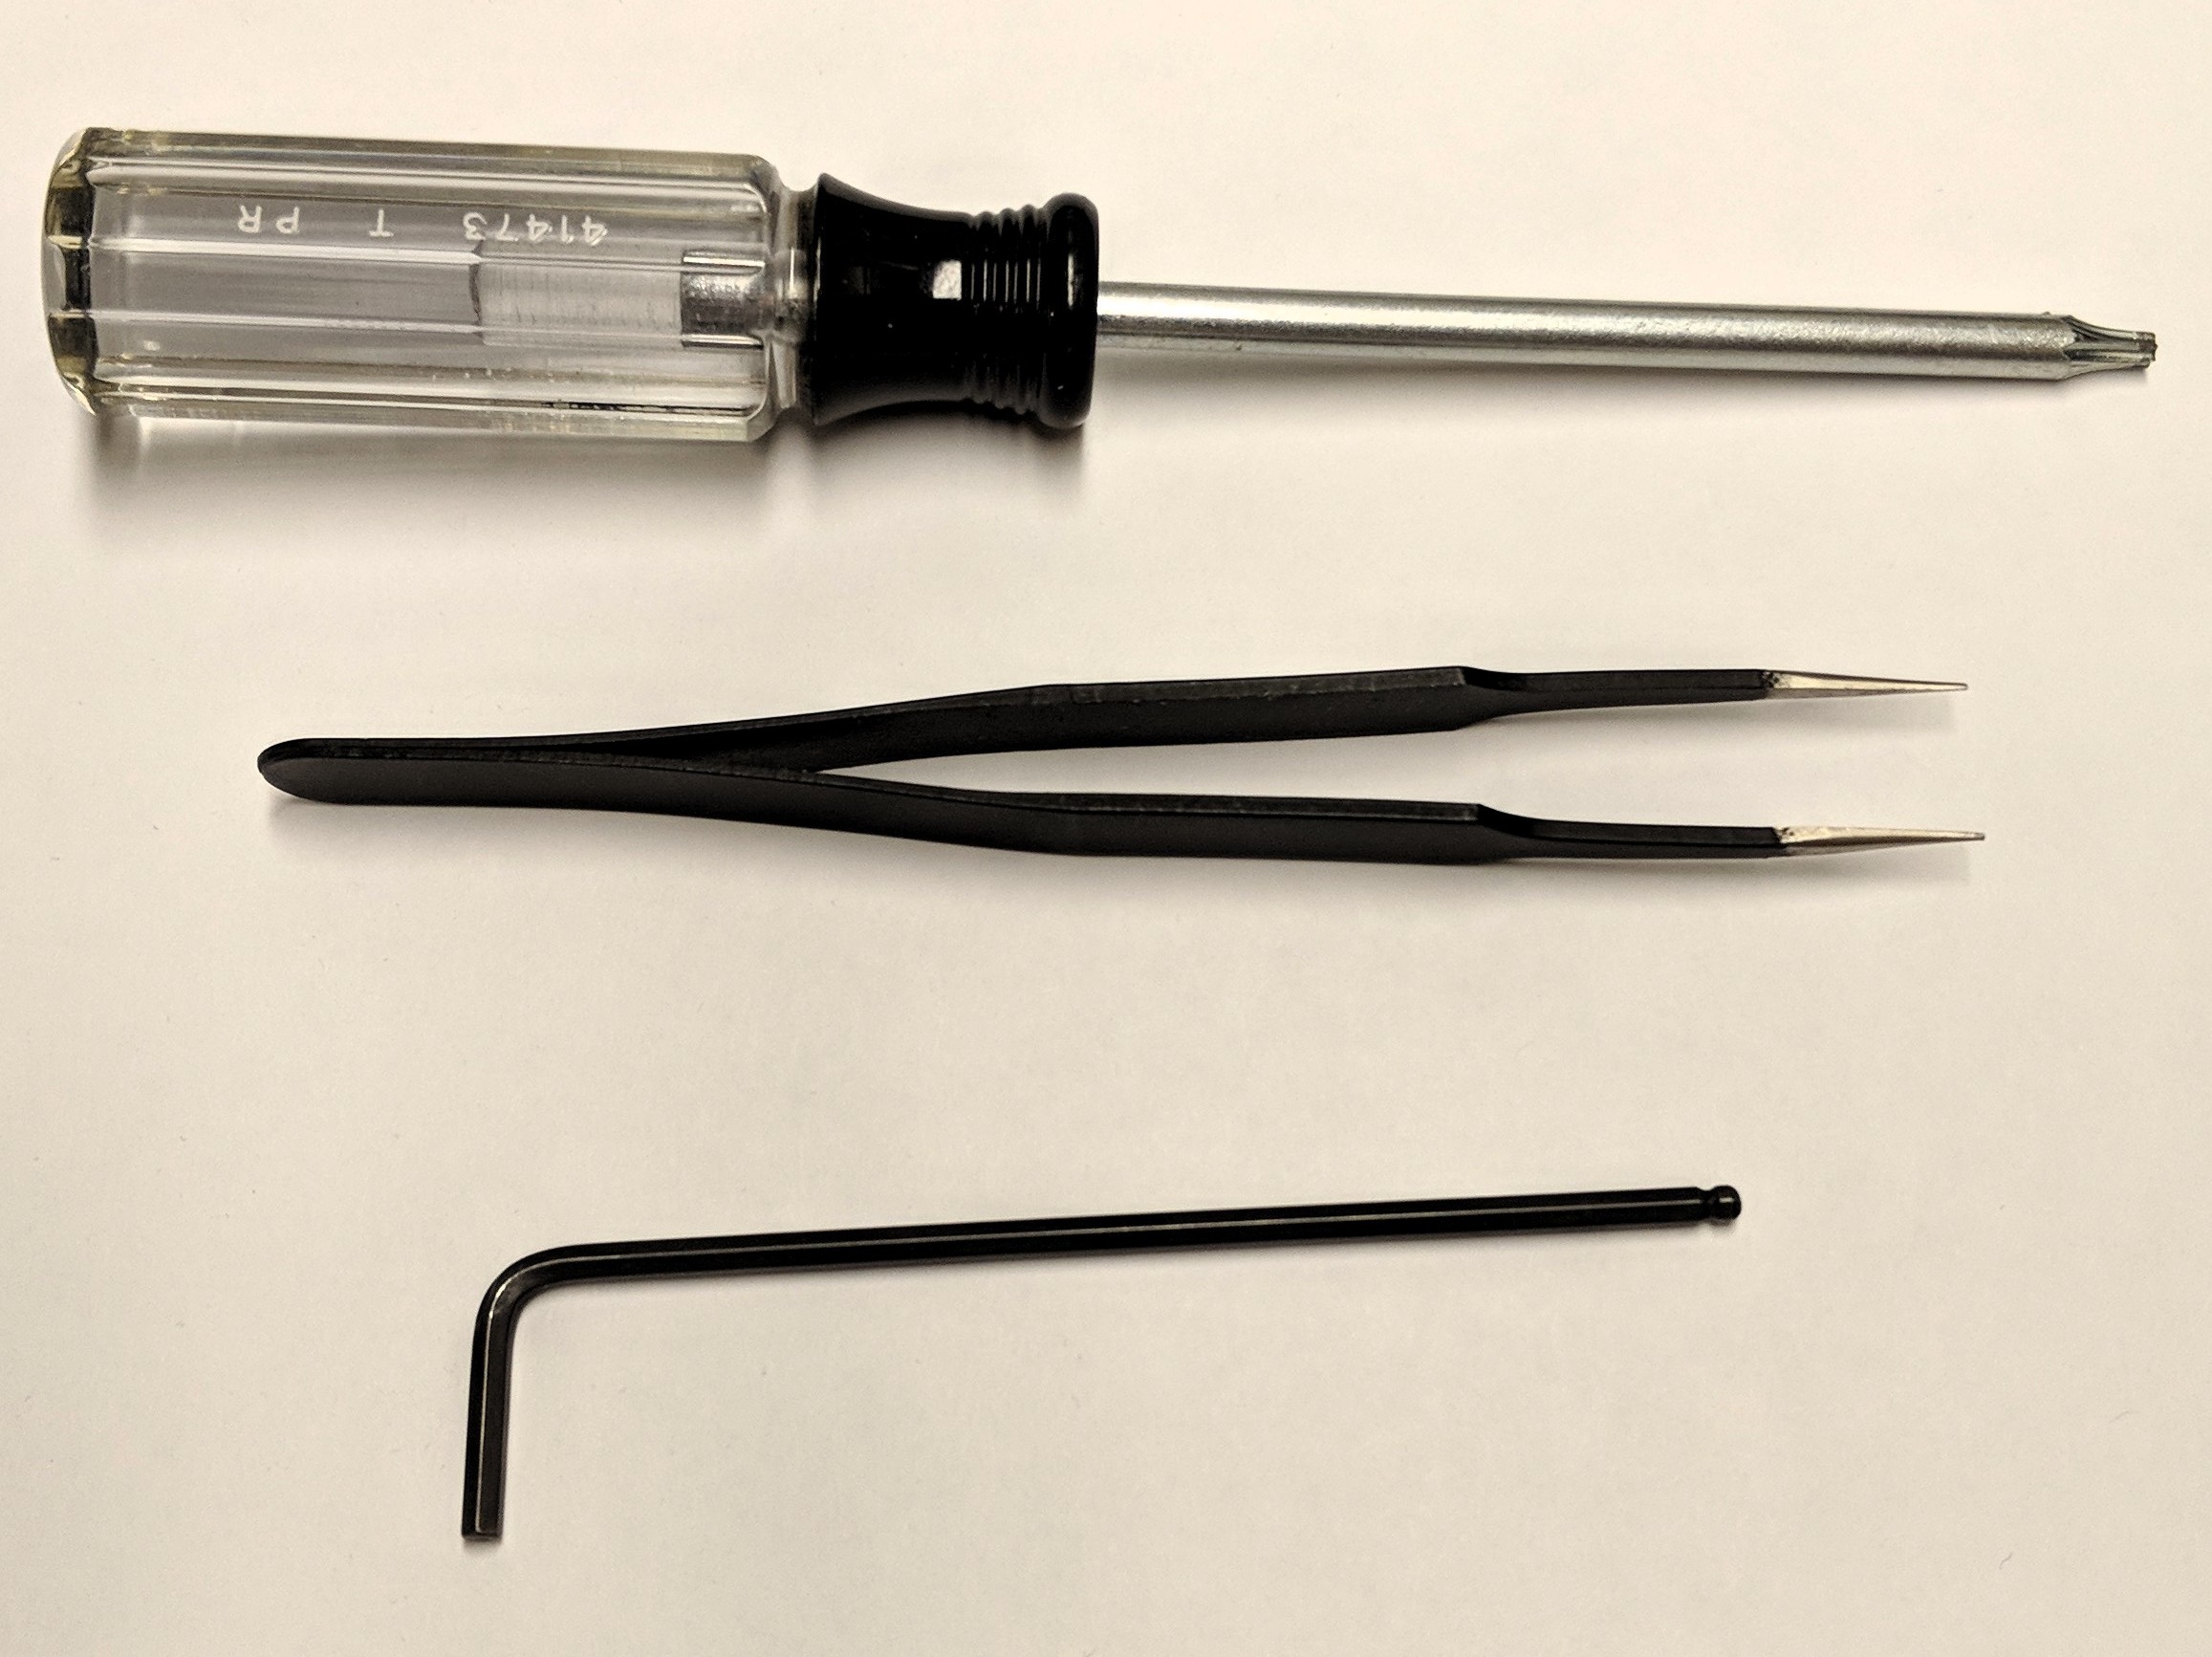
- #10 Torx driver
- Narrow Tweezers
- 3mm Ball-End Hex Key*
- Optional: Paint Can Opener
*The ball-end on the hex key is critical. Trust me, you want one.
Step 0: Unplug your unit.
Duh!
Step 1: Remove Left Cover Screws
There are 3 screws holding the left cover in place - one on the left, and two on the right. Use the #10 Torx driver to remove these.
LEFT:

RIGHT:
It may be possible to remove and replace the fan without removing the left cover, but I am not brave (or patient) enough to attempt it.
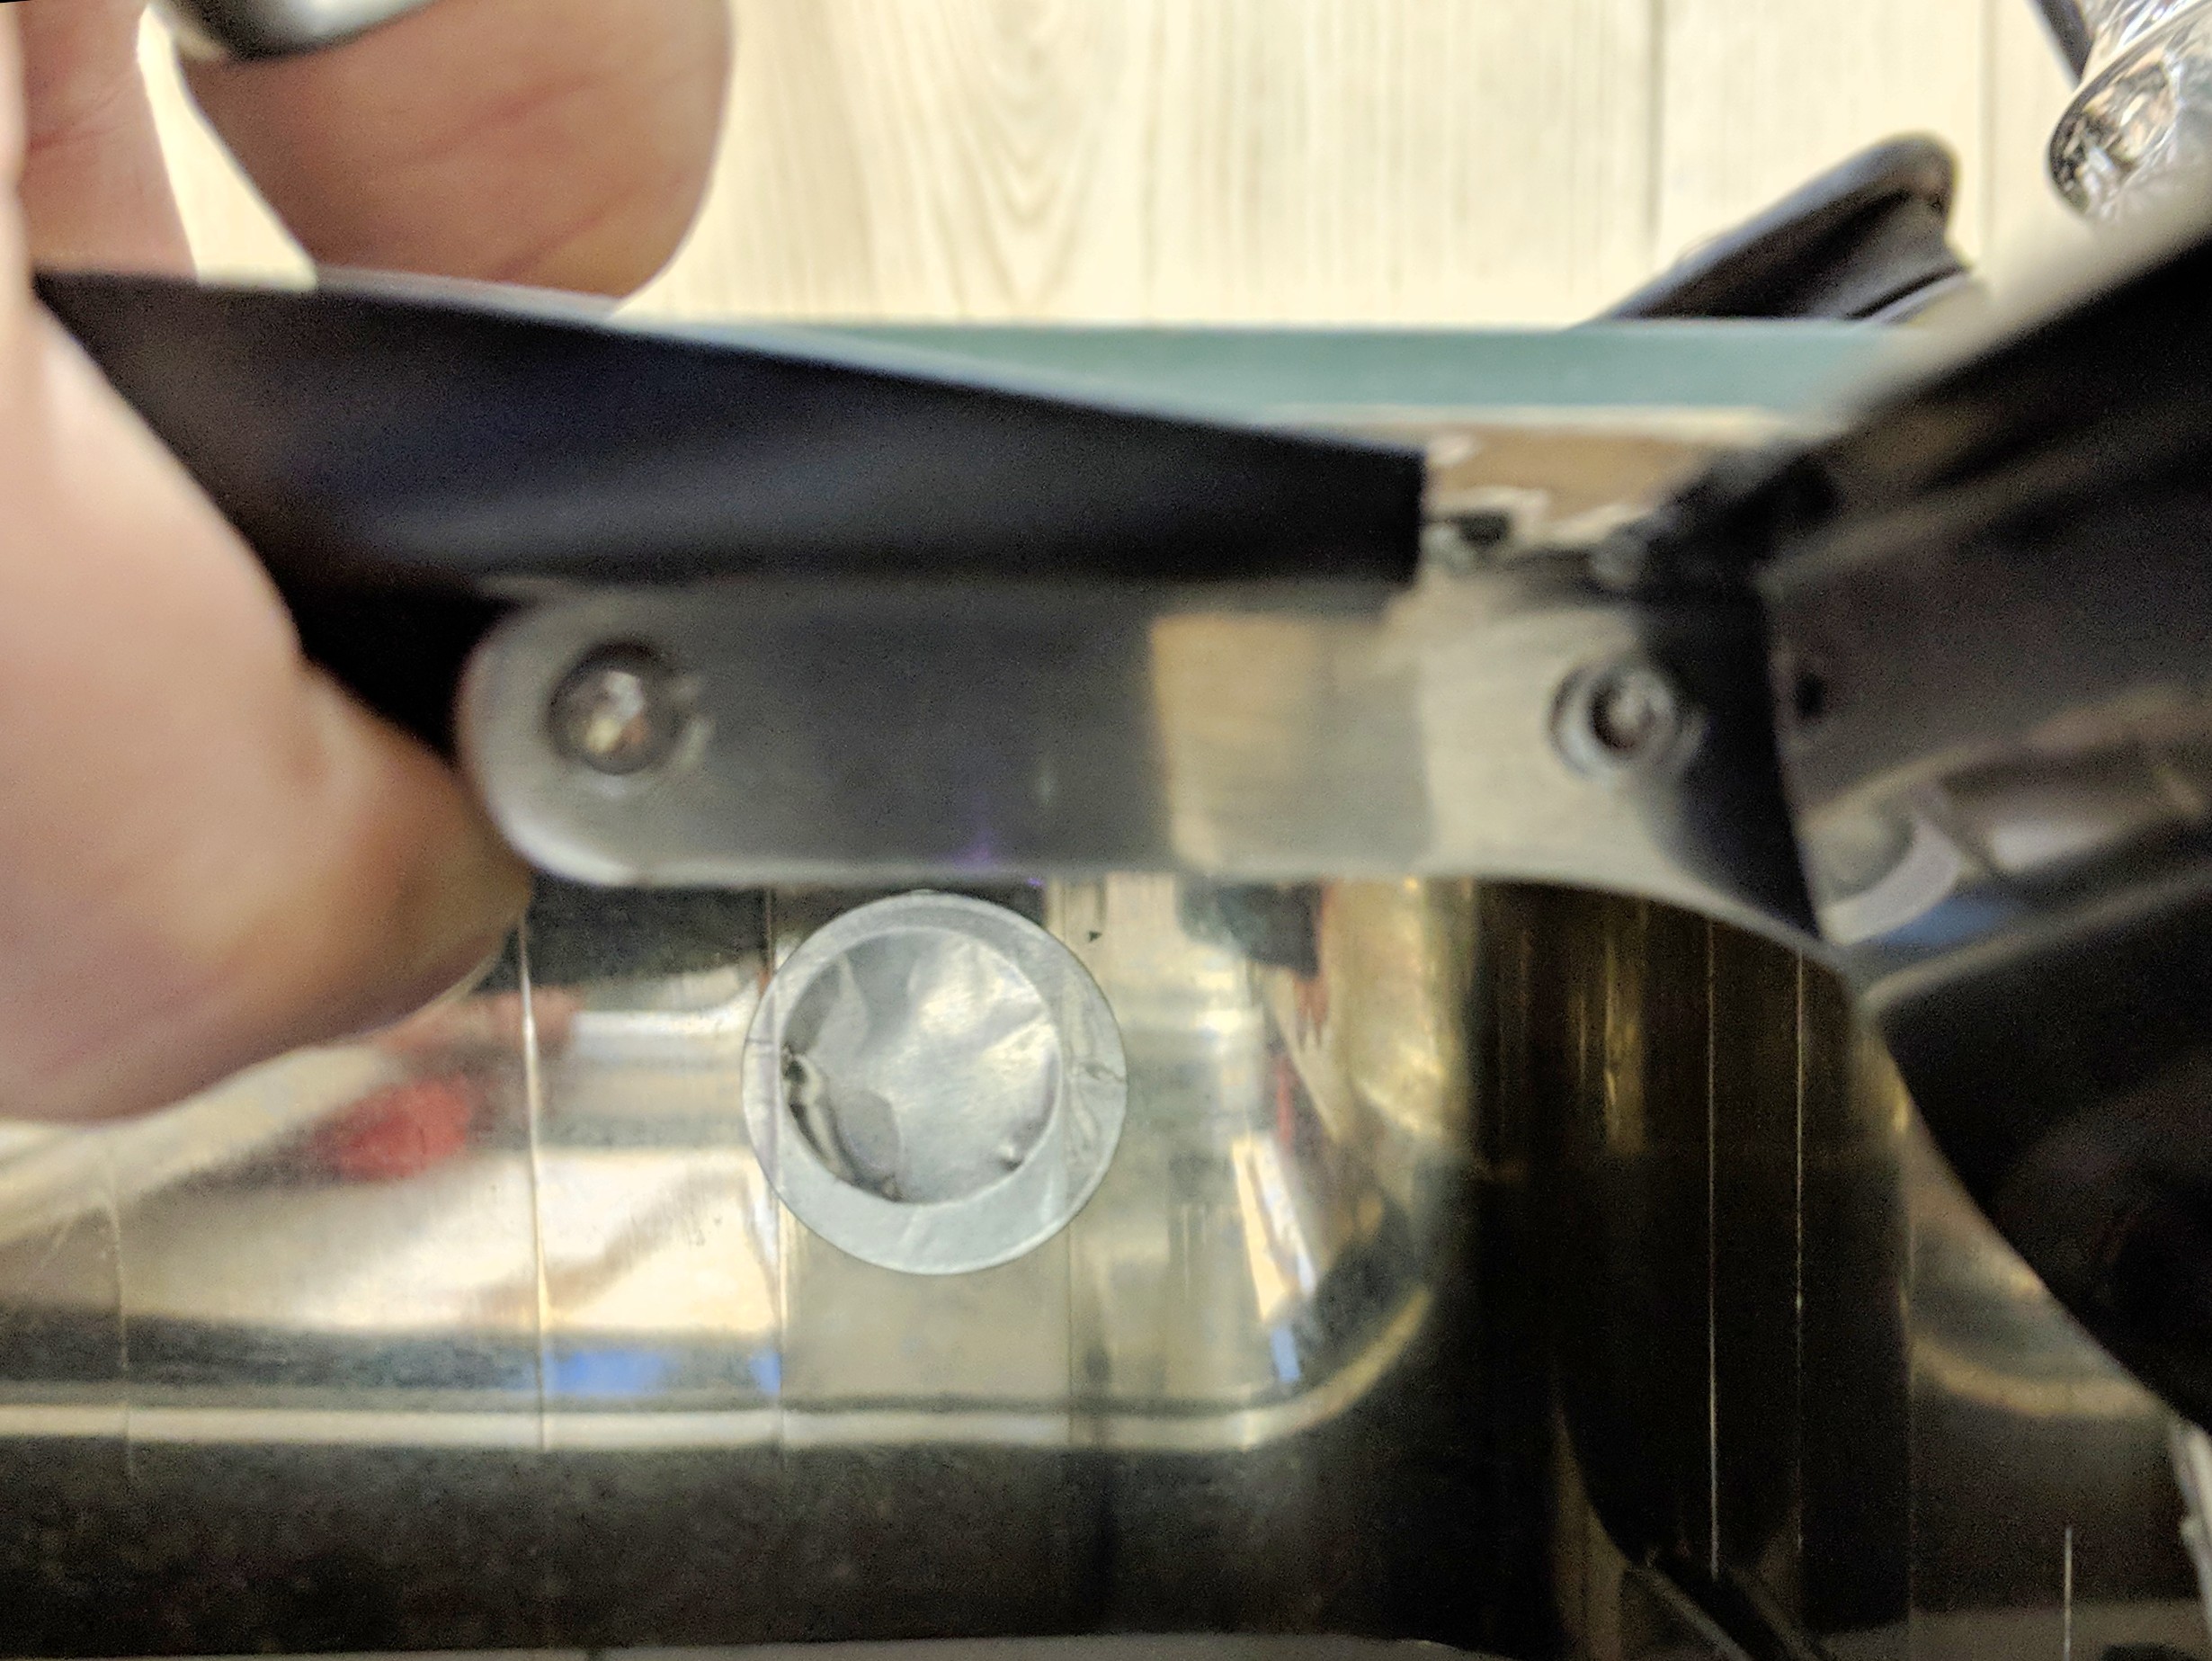
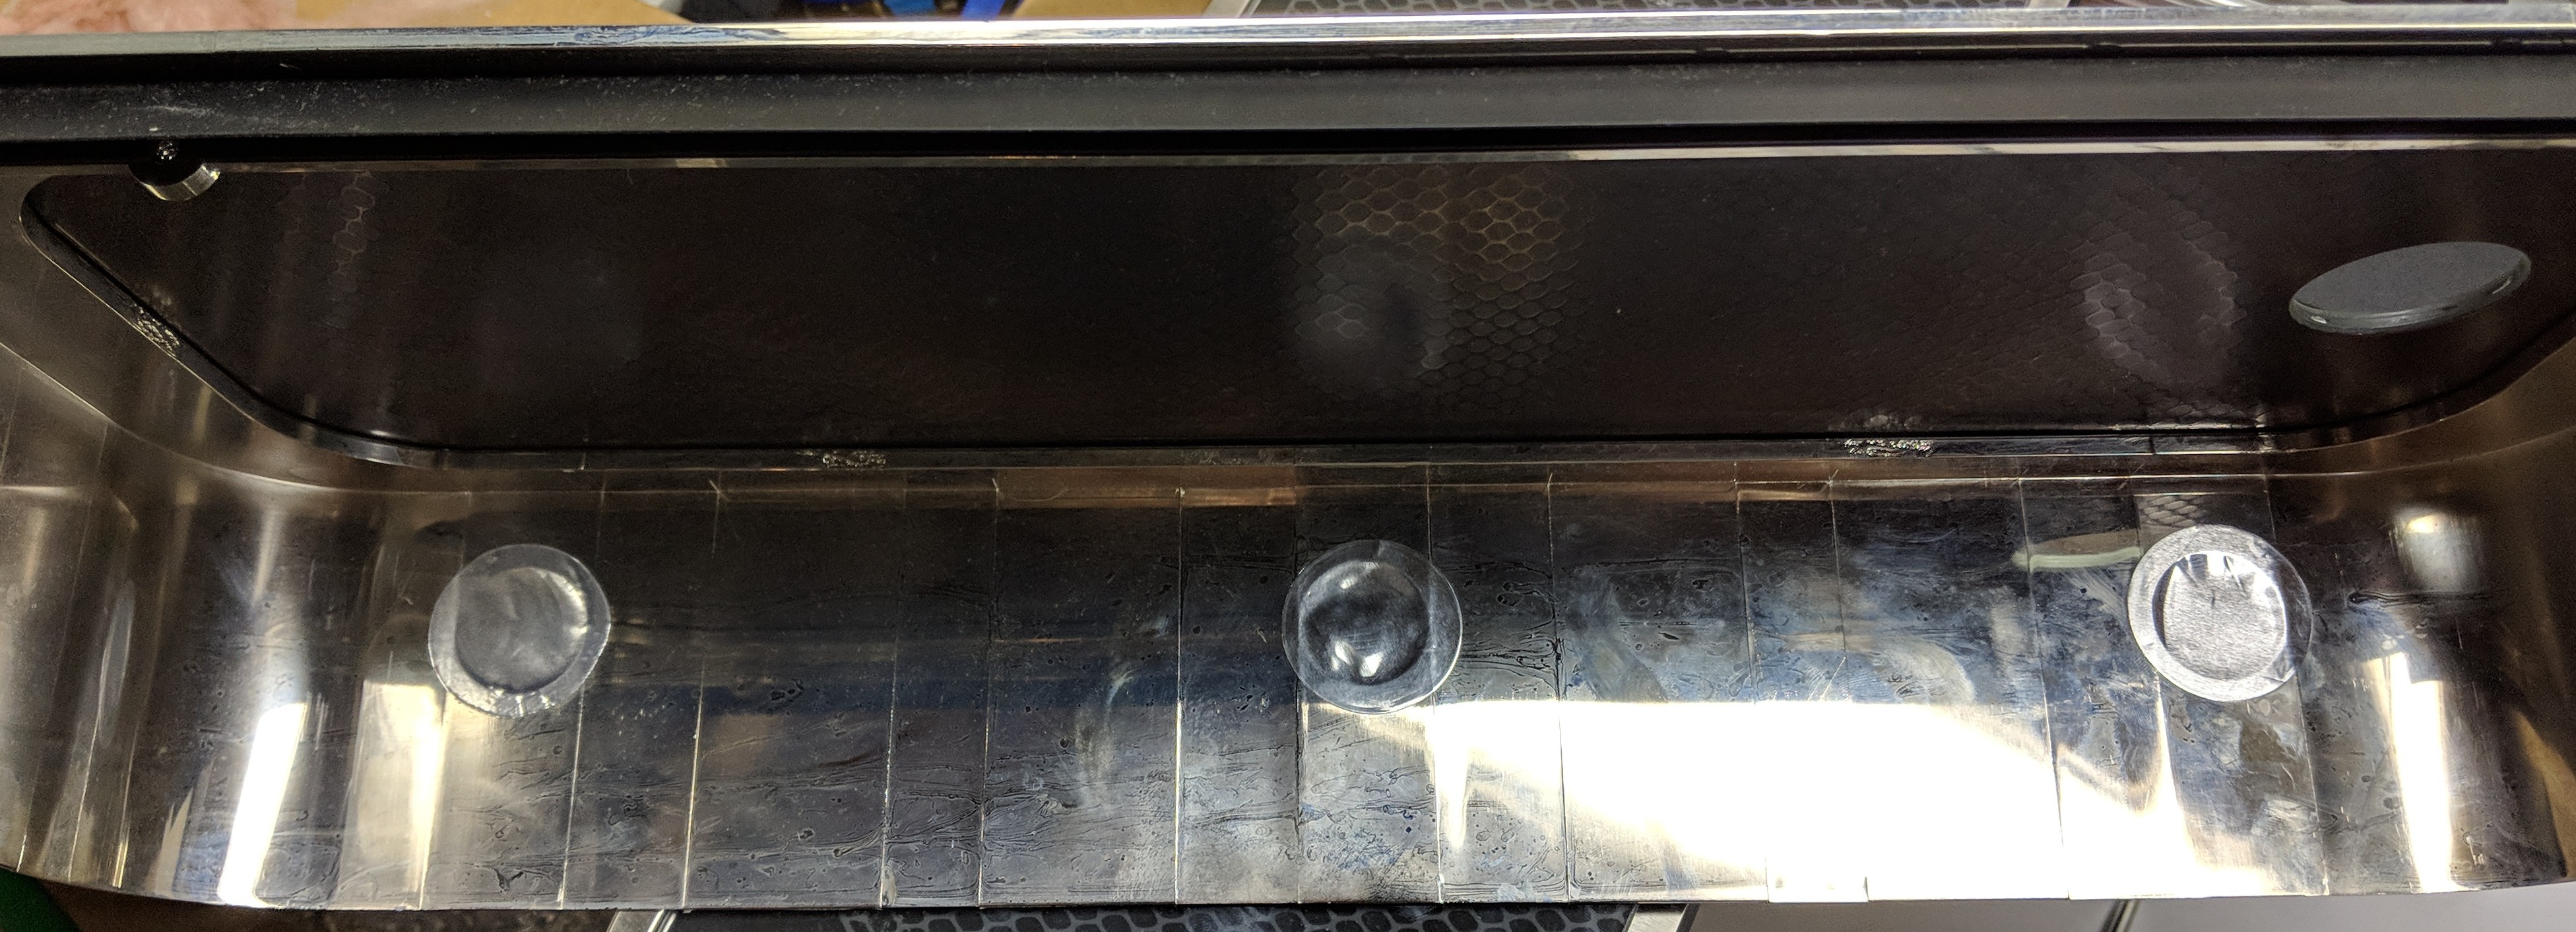
Step 2: Release Locking Tabs and Slide Cover Up and Off
There are 3 plastic locking tabs, hidden under foil tape, that hold the side of the cover in place.
Poke a hole in these, and use the short end of the hex key to pull the tab away from the locking notch on the case.

This is not the easiest of tasks. Expect it to take some time, as the tabs tend to lock back in place when you are working on the next one. It may be easier to use a paint can opener* to pull on them. Do not pull too hard, or you will break them.
Once they are all released, the cover will slide up and off.
* @jglazer63 provides the excellent tip to grind the end of the paint can opener to make it easier to fit behind the tabs (see comment below).
Step 3: Remove the Thermoelectric Cooler (Pro Only)
I don’t have a Pro, so I can’t comment on this step. Any one with a Pro willing to share pictures and/or your personal experience here?
Step 4: Remove the Fan Screws
The fan is secured with four screws. Use the 3mm hex key to remove them.
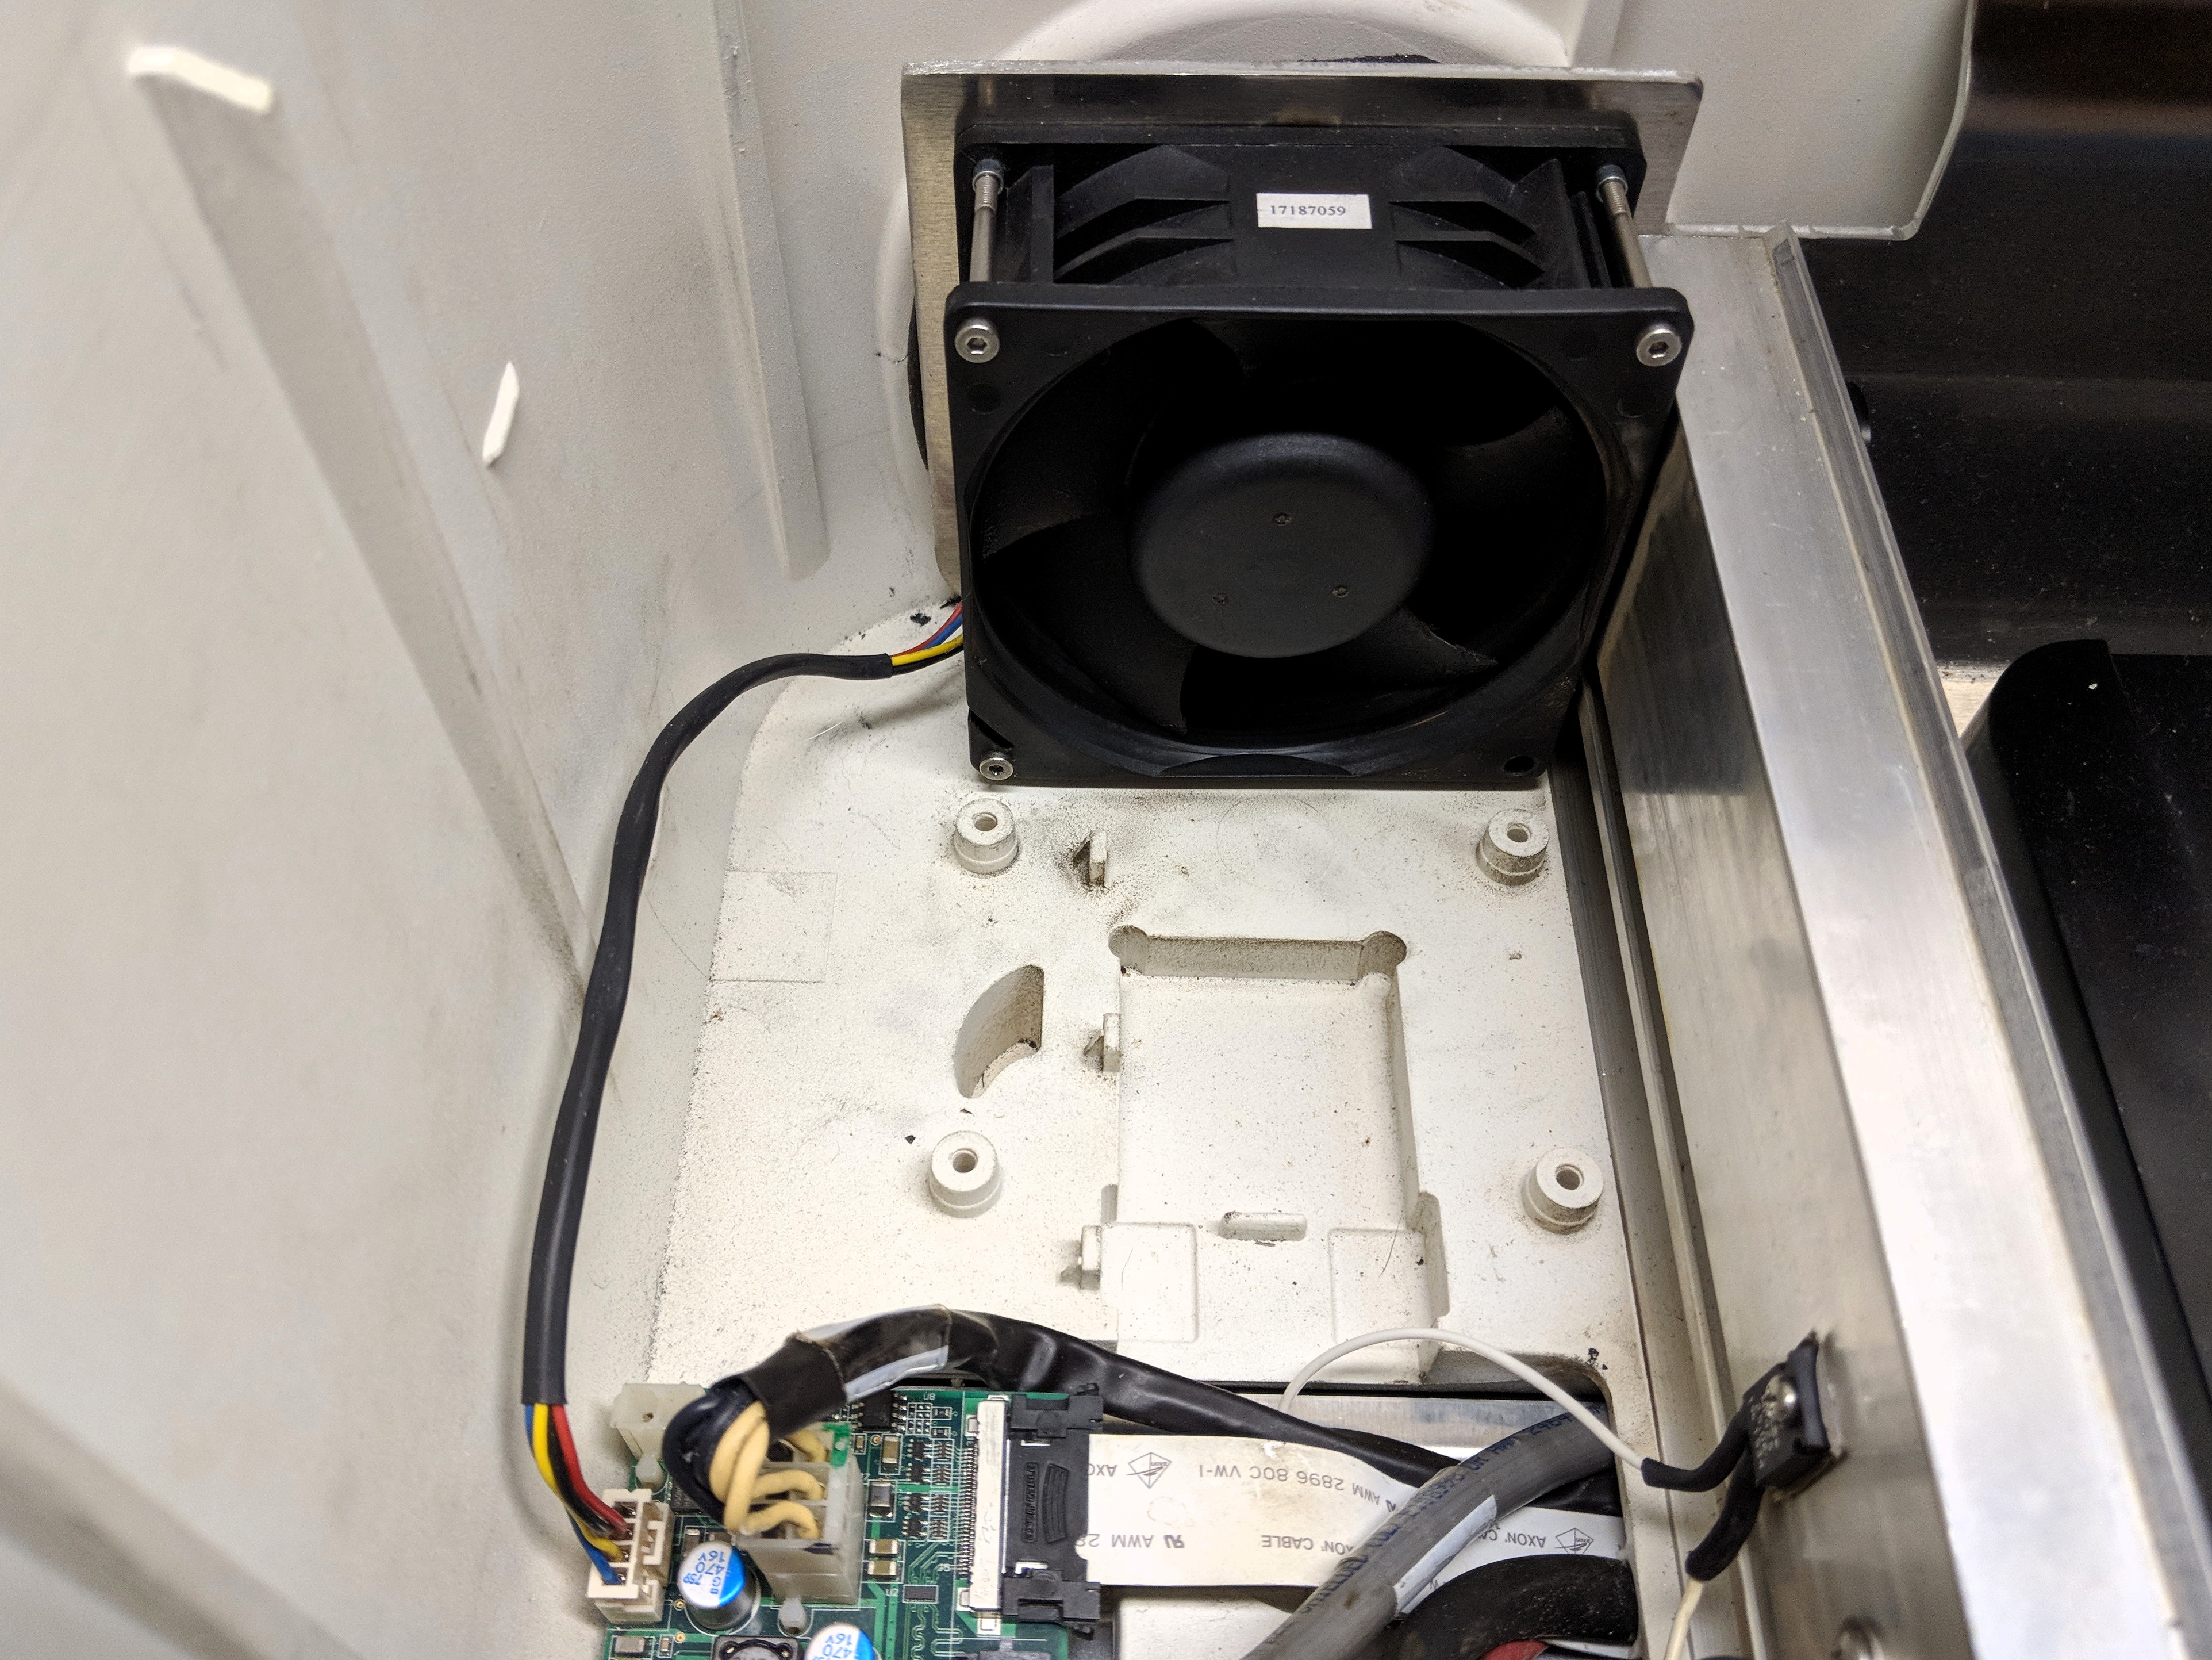
Unplug the fan, and it should slide out with a little coaxing.
Step 5: Clean / Replace Fan
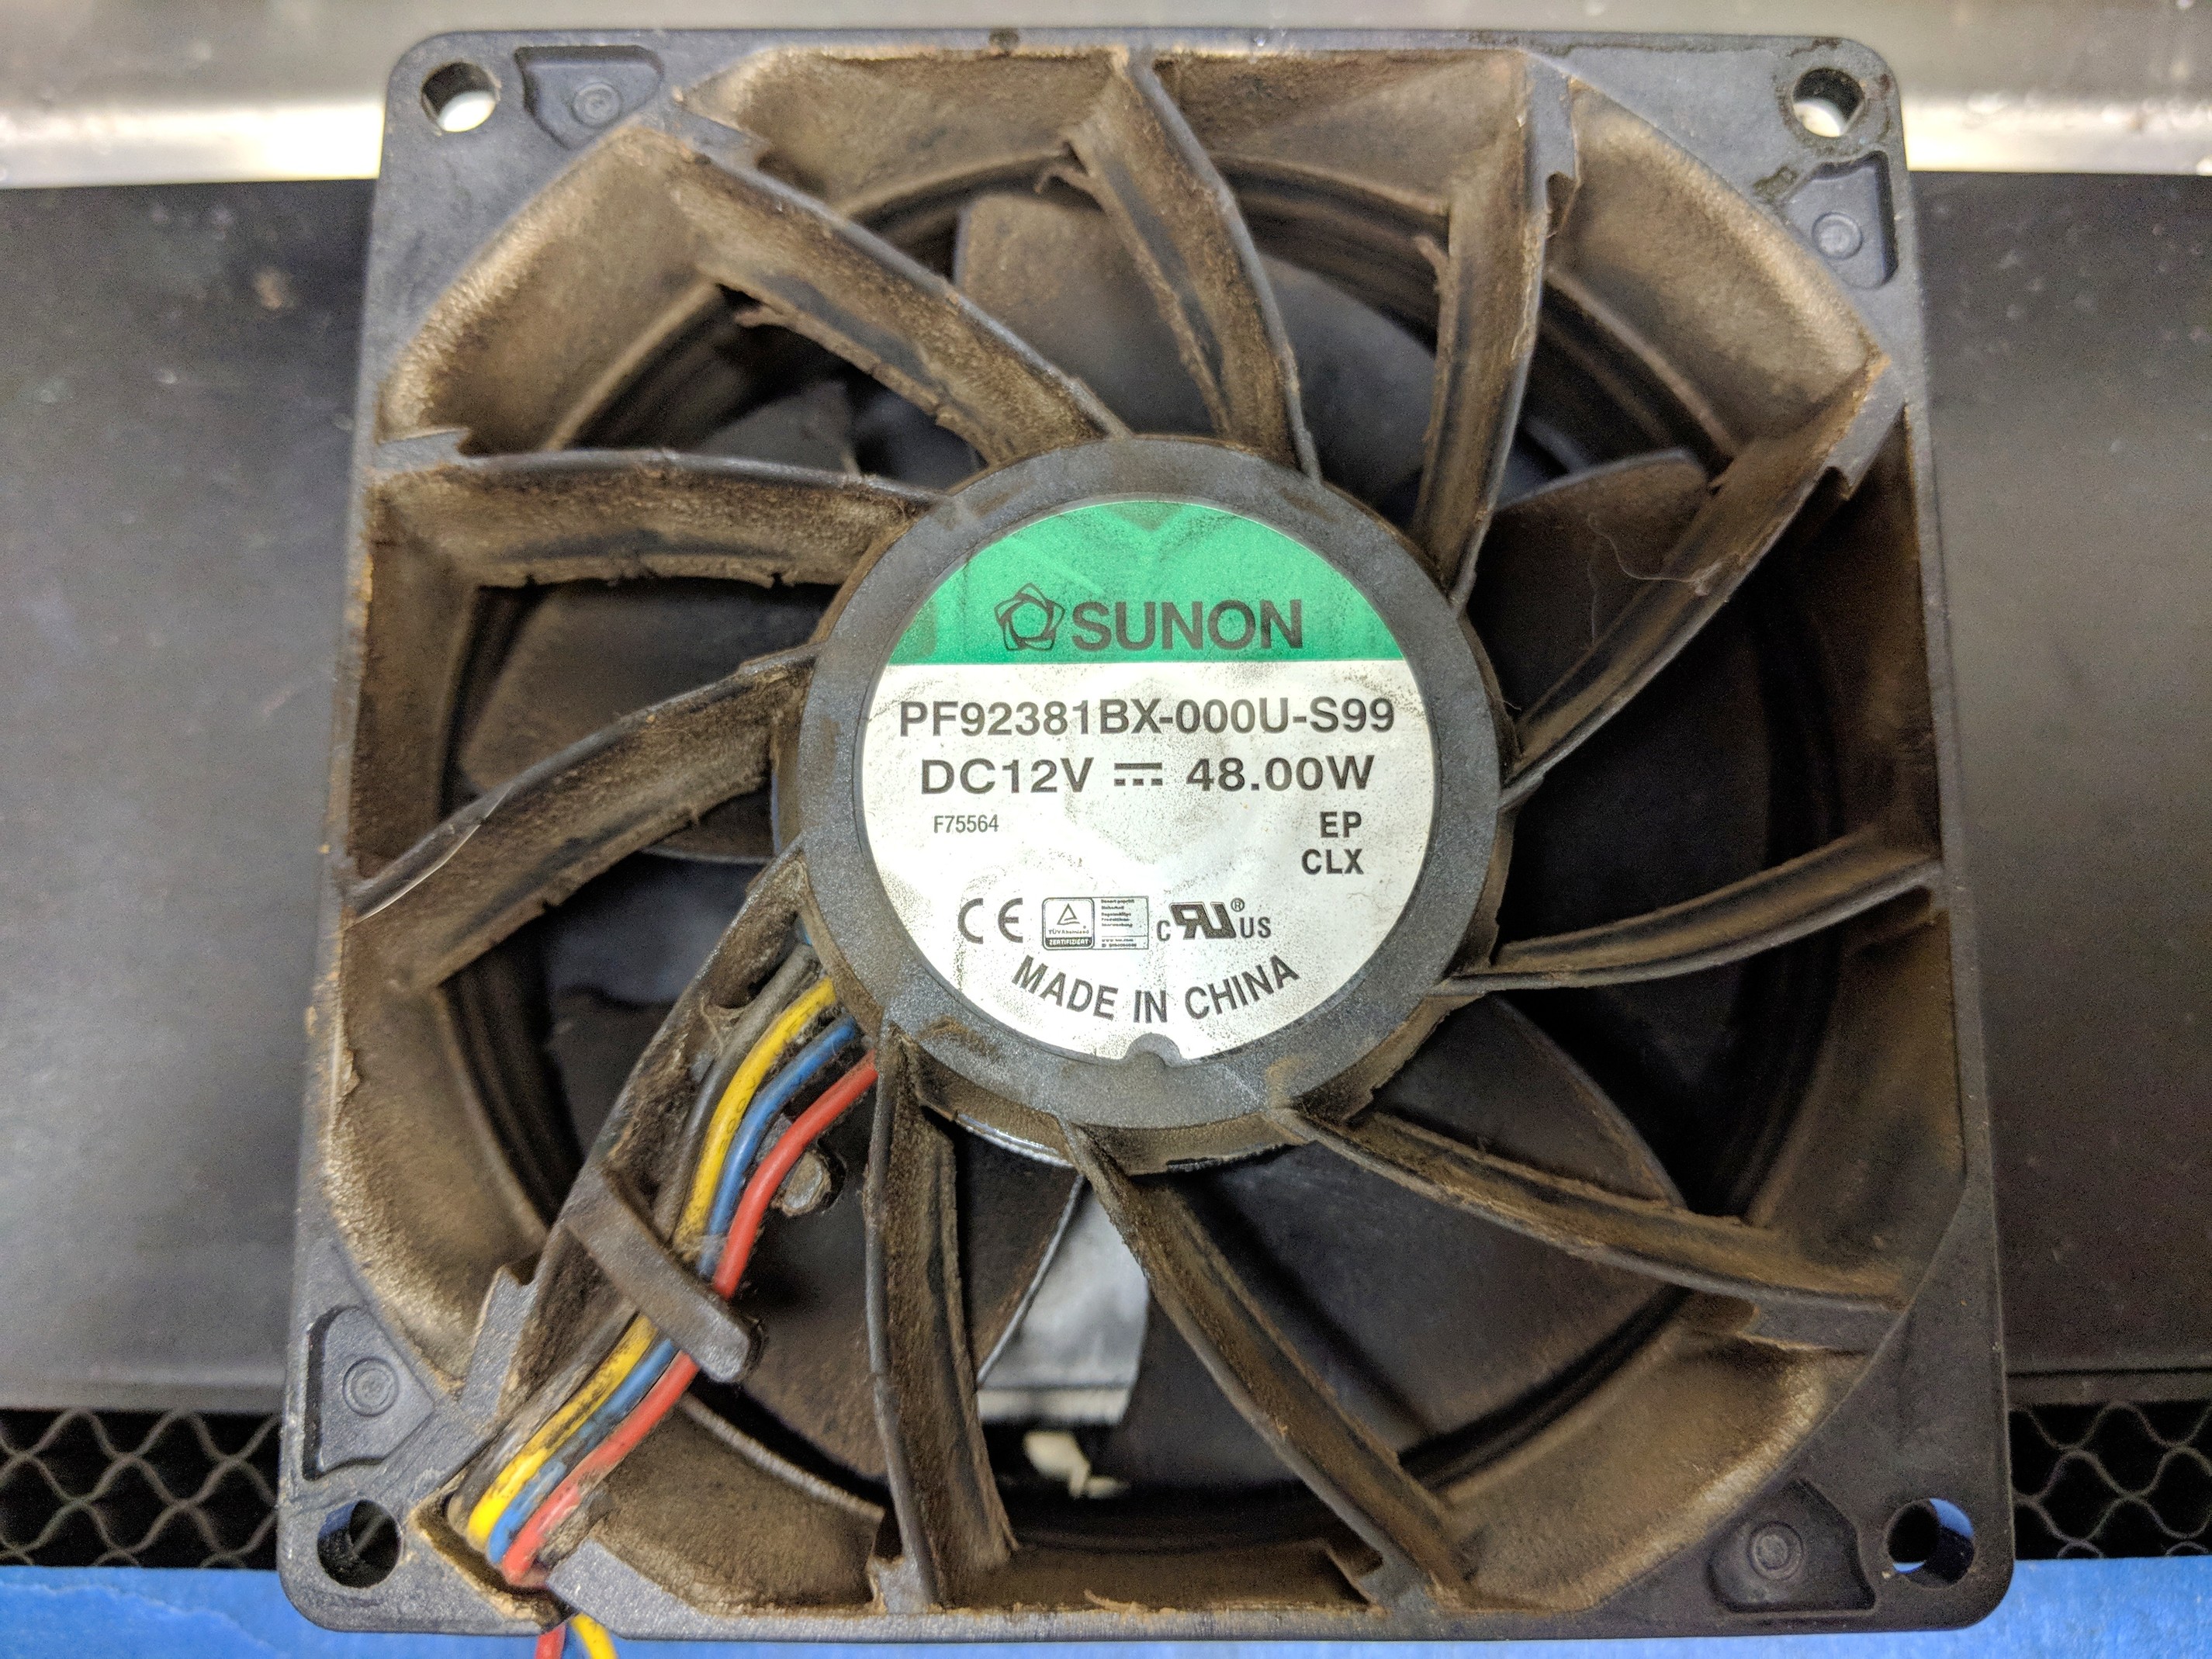
Here is the spec plate for the fan:
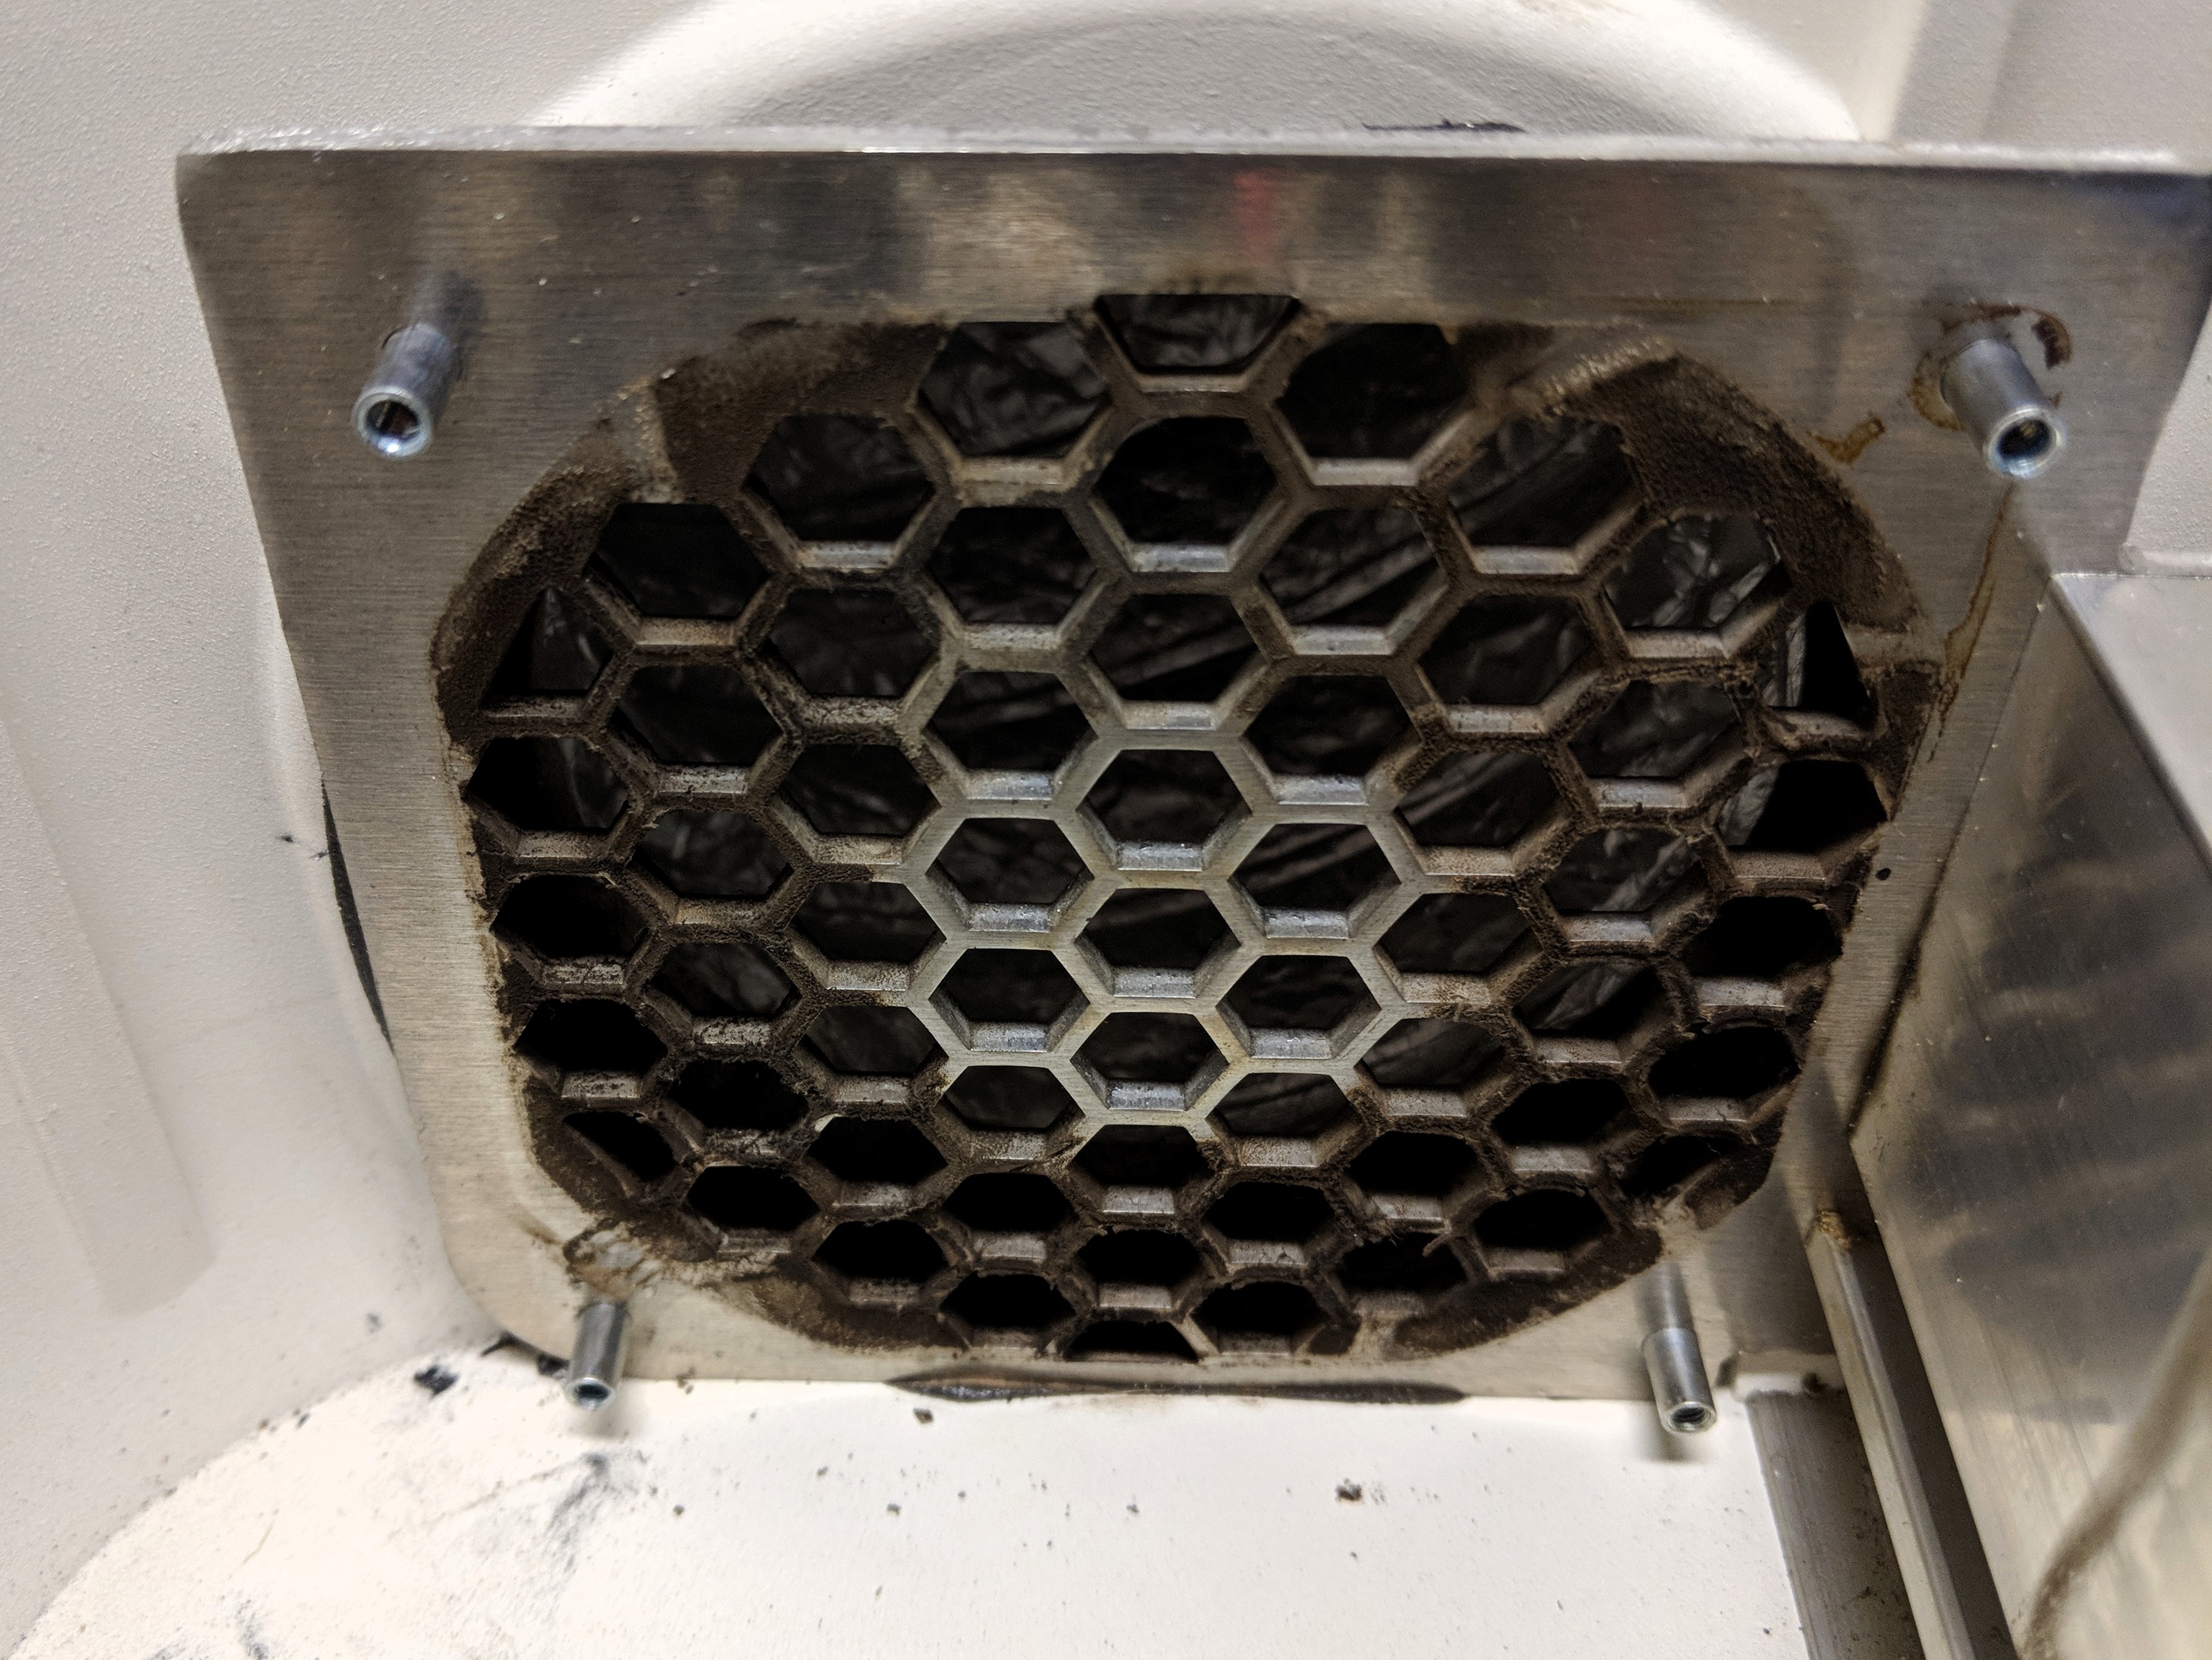
I’d recommend cleaning the finger guard while you’re in here:
Step 6: Install Fan
The top 2 screws are easy. The bottom screws are interfered with by the mounting bosses for the cooler and are a bit of a nightmare. The bottom right is nearly impossible. I usually just leave it out, and everything works fine. YMMV
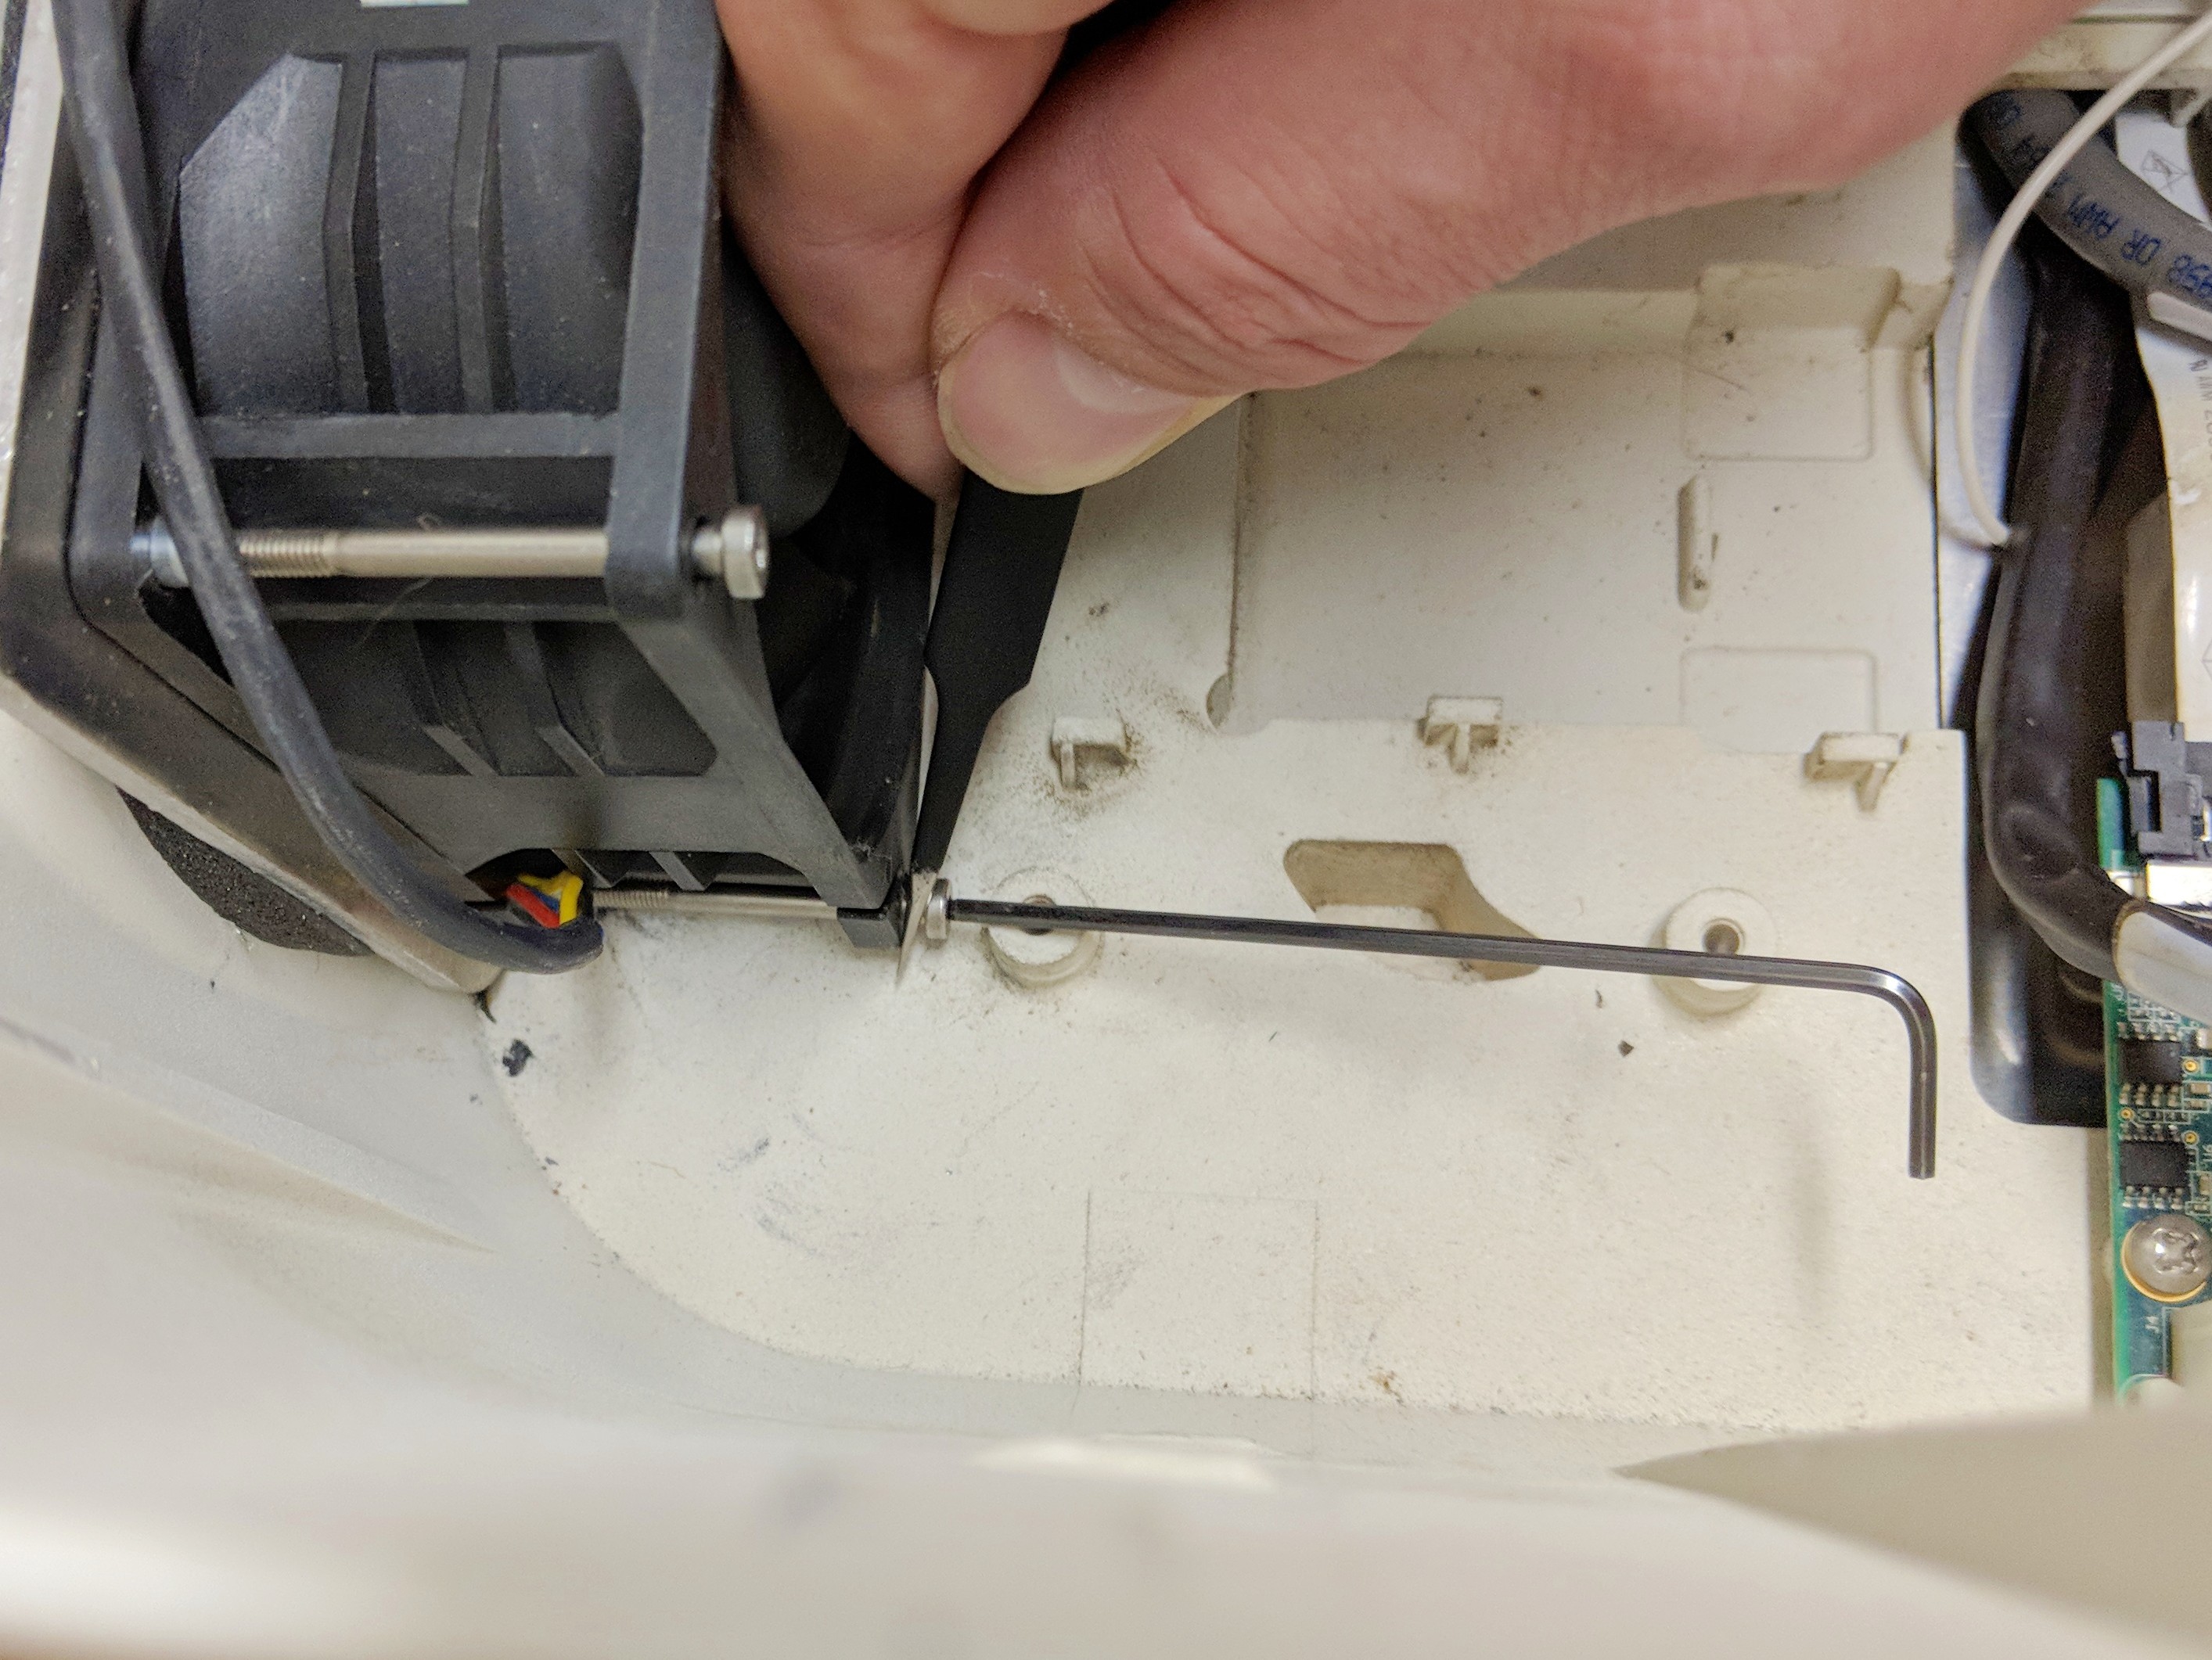
The easiest way I found to get the bottom left screw in is to use a pair of SMT tweezers to guide it into place:
Step 7: Finishing Up
Reconnect the fan, reinstall the left cover and its mounting screws, and fire 'er up!
WARNING: As with everything on this site, USE AT YOUR OWN RISK. Additionally, Dan has suggested (link only accessible by registered users on Glowforge’s official forum) that removing the covers may affect the alignment of the unit .
 I found the cost of that fan to be just under $30 depending on the vendor. Is there any difference between the CFM of the pro and basic exhaust fans that you know of?