Dual Booting OpenGlow and Glowforge Factory Firmware
OpenGlow firmware for Glowforge brand CNC lasers can be installed along side the factory firmware using the on-board flash storage. This has the advantage of not requiring you to solder on an external SDCARD holder.
The factory flash is a 4GB eMMC. The factory firmware resides on two partitions that are 200MB each, and has a non-volatile (survives firmware updates) /data partition of ~3GB. All that is stored on the /data partition is configuration files and log files.
We can resize the /data partition down to 2GB, leaving a ~1GB partition for us to install OpenGlow on.
Prerequisites
Before getting started, you will need serial console access to your Glowforge. If you do not have a unit with the factory installed console port, you will need to install your own (see this post).
You should also have followed the initial Glowforge setup instructions, and have your unit connected to your wireless network.
Installation
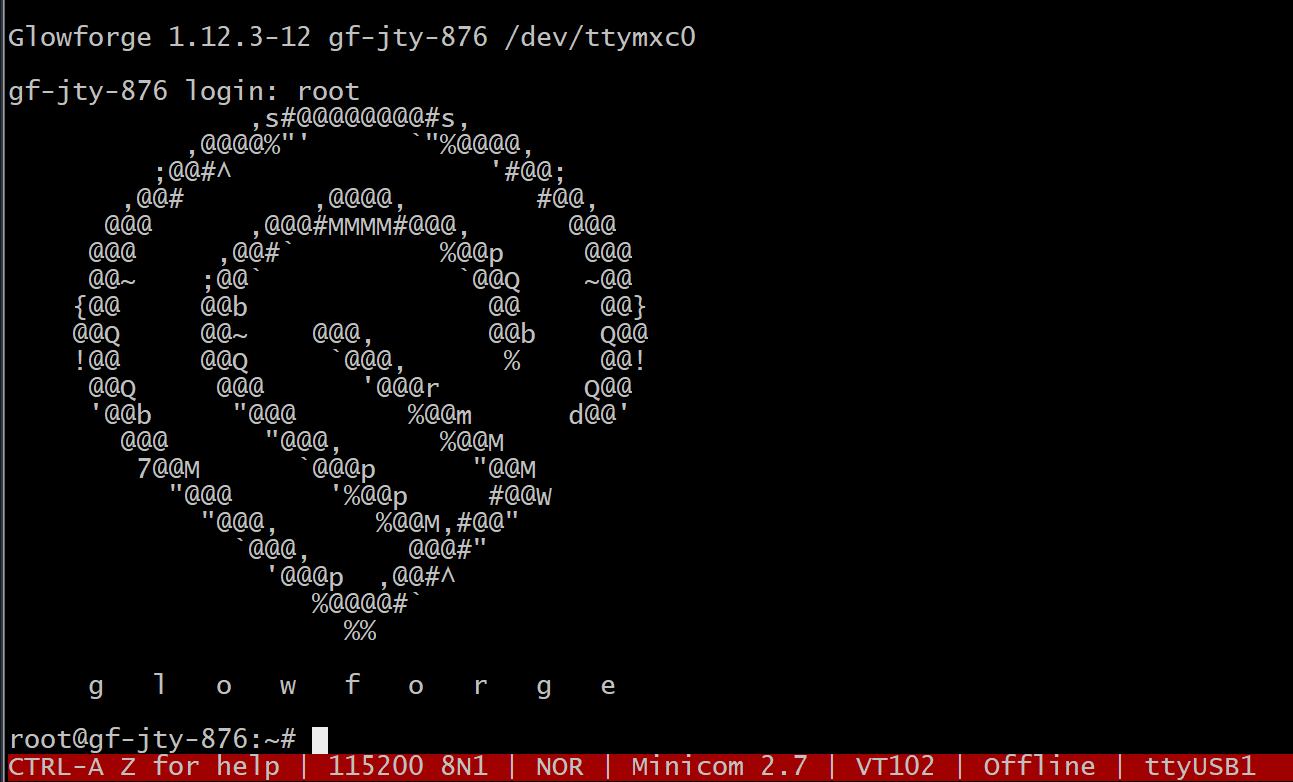
Connect to the console port (or plug in your wired adapter) and fire up your Glowforge. When you reach the logon prompt, enter root for the username. No password is necessary.
Stage 1
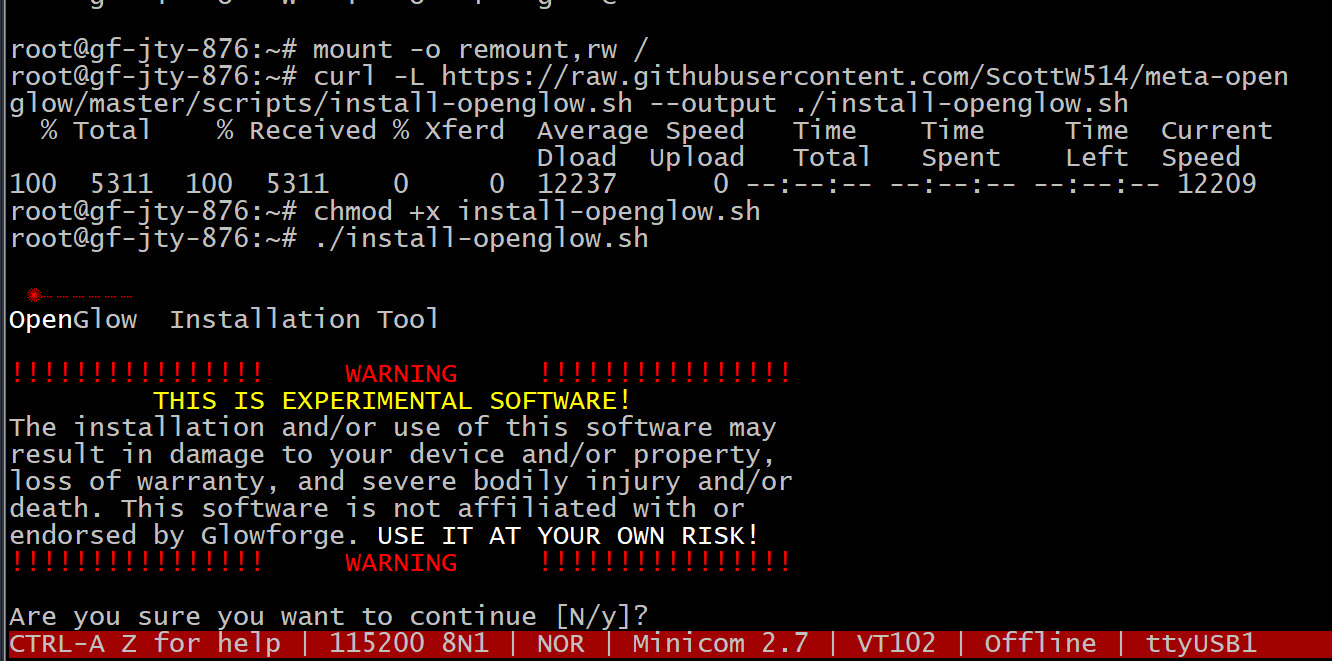
We’ll need to remount the root partition as read/write, and download and run the installation script by entering the following commands:
mount -o remount,rw /
curl -L https://raw.githubusercontent.com/ScottW514/forgefirm/master/scripts/install-forgefirm.sh --output ./install-forgefirm.sh
chmod +x install-forgefirm.sh
./install-forgefirm.sh
This will fire up the installation script, and present you with a very important warning:
—Dramatic Pause—
Did you read that? Yes? I’ll repeat, just in case - This is experimental software. Use of this software could seriously maim or kill you or others. Use at your own risk!
If you are bold, type y and hit enter.
From there, the script will automagically do the following:
- Stop all Glowforge services
- Back up critical data from the
/datapartition. This does not include log files, but you probably don’t care about those anyway… - Rewrite the flash partition table. This shrinks the
/datapartition from 3GB to 2GB, and creates a new 1GB partition for OpenGlow to live on.
After these steps have completed, you will be prompted to reboot:

Stage 2
After the device reboots, login as root and run the script again:
./install-openglow.sh
This will complete the installation process by performing the following steps:
- Stopping all Glowforge services
- Restoring the critical
/datafiles - Restarting the network services.
- Downloads the latest OpenGlow image from GitHub.
- Writes the OpenGlow image to the flash (this takes a bit, be patient)
- Installs the
/data/ogbootutility so you can switch between OpenGlow and factory images.
Hit any key to reboot into your fancy new OpenGlow image.

Welcome to OpenGlow!
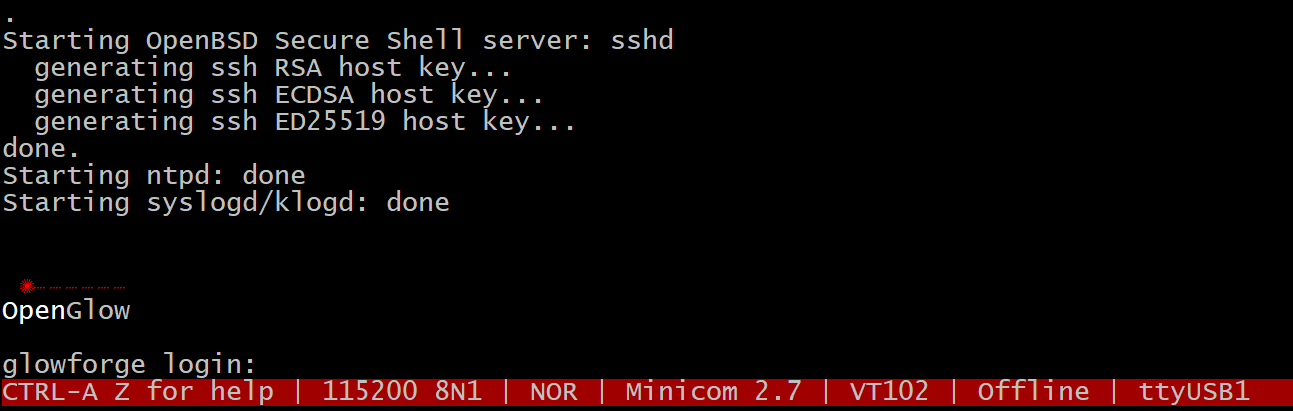
Login is root, no password. You can also connect via SSH - same user, no password (obviously, you should change this).
The unit will automatically connect to the Glowforge service upon boot, and begin the homing sequence. You can use it from the GFUI like normal (mostly, don’t try fancy stuff like setting the focus, snap marks, pass through, or the calibration tool).
You can easily switch back and forth between factory and OpenGlow images:
# To switch to the factory image run:
/data/ffboot -e
# To switch to the OpenGlow image, run:
/data/ffboot -e4
# If you added the SDCARD, you can boot from that with:
/data/ffboot -s
NOTE:
This firmware is in beta. It mostly works. It is for experimentation purposes - not for production. Expect problems.
Now that a working version is in the wild, I’ll be spending some time on documenting it so those who want to dig in will not have to learn from scratch like I did. ![]()